
Last updated October 31, 2026
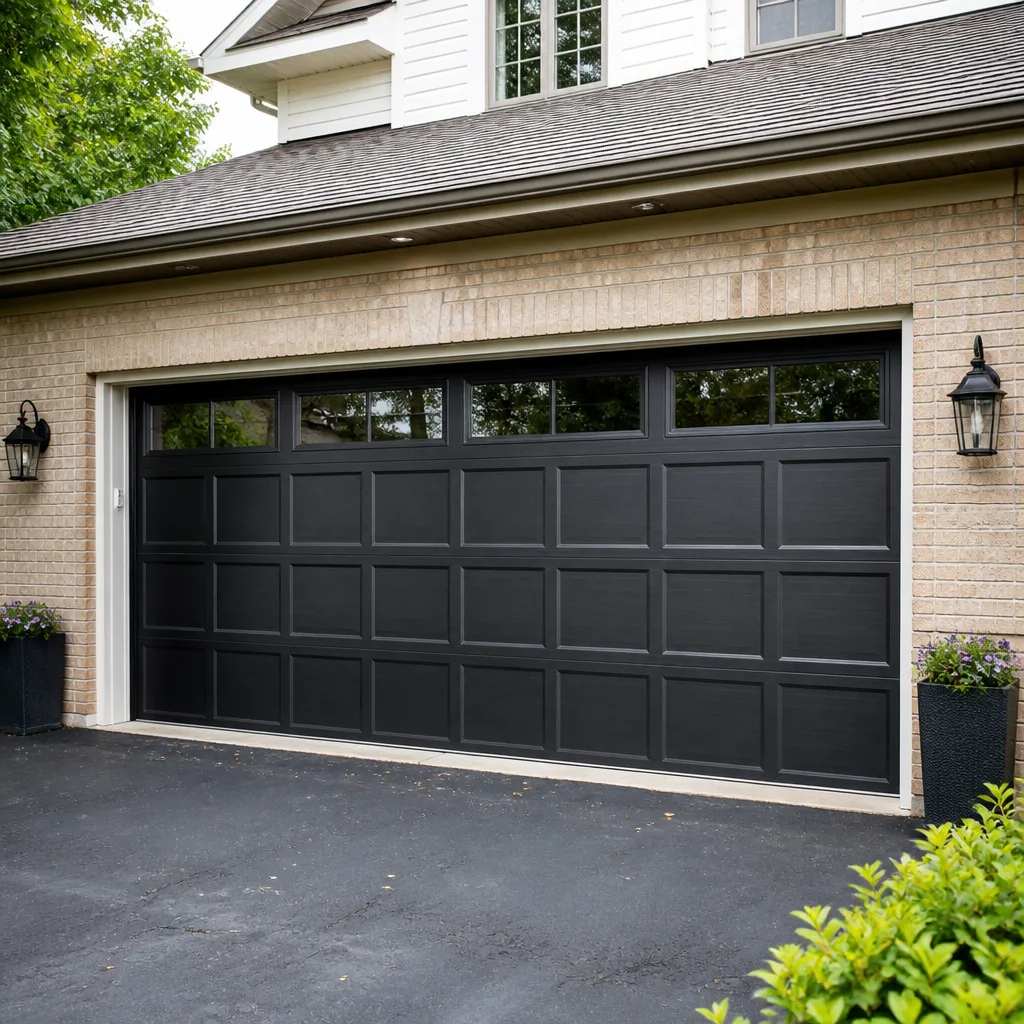 Raised-panel steel
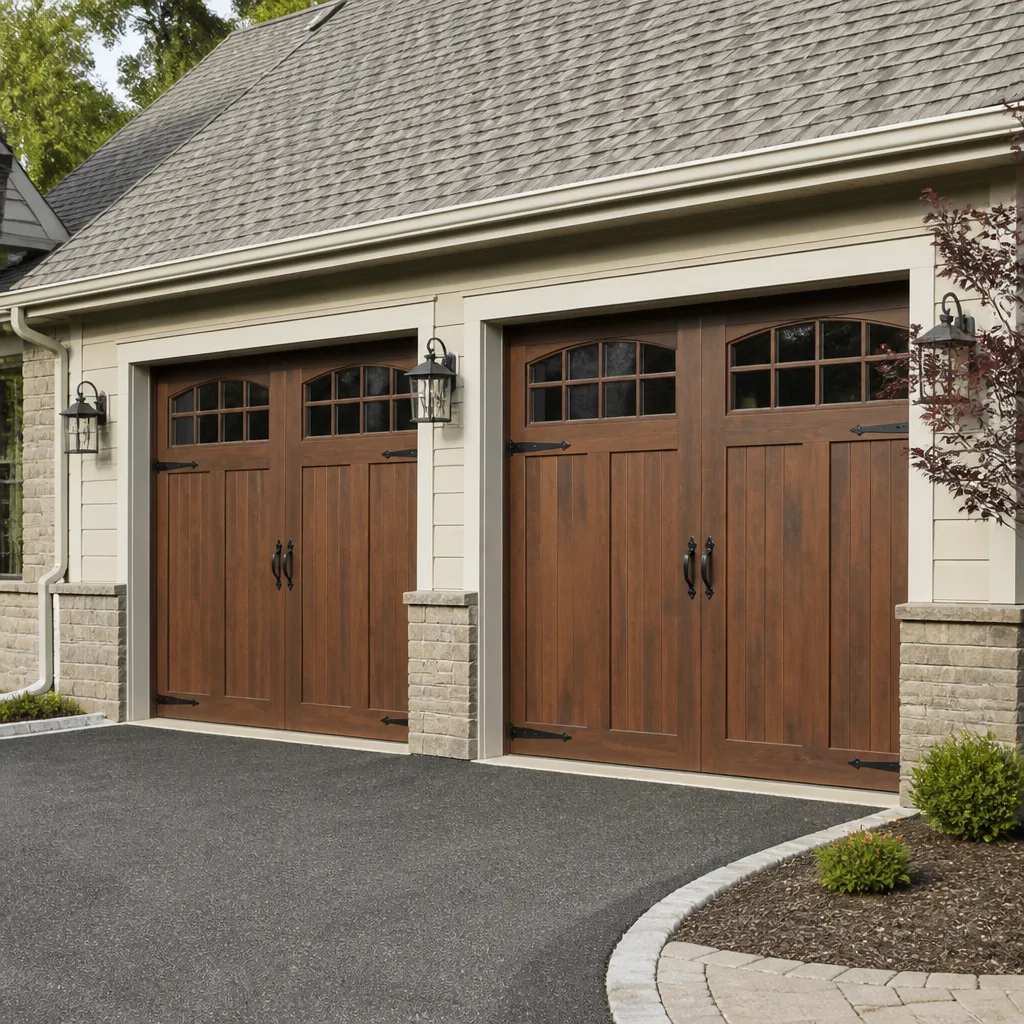 Carriage house
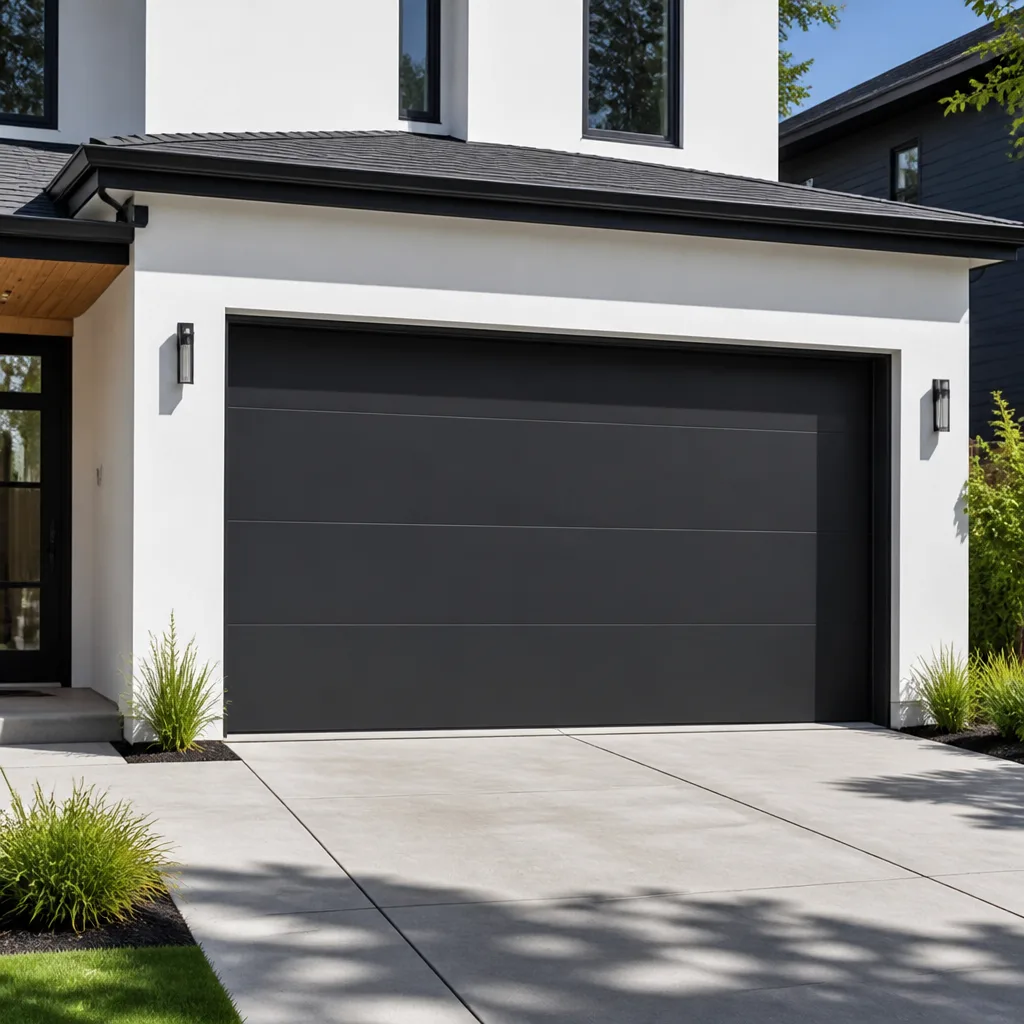 Modern flush
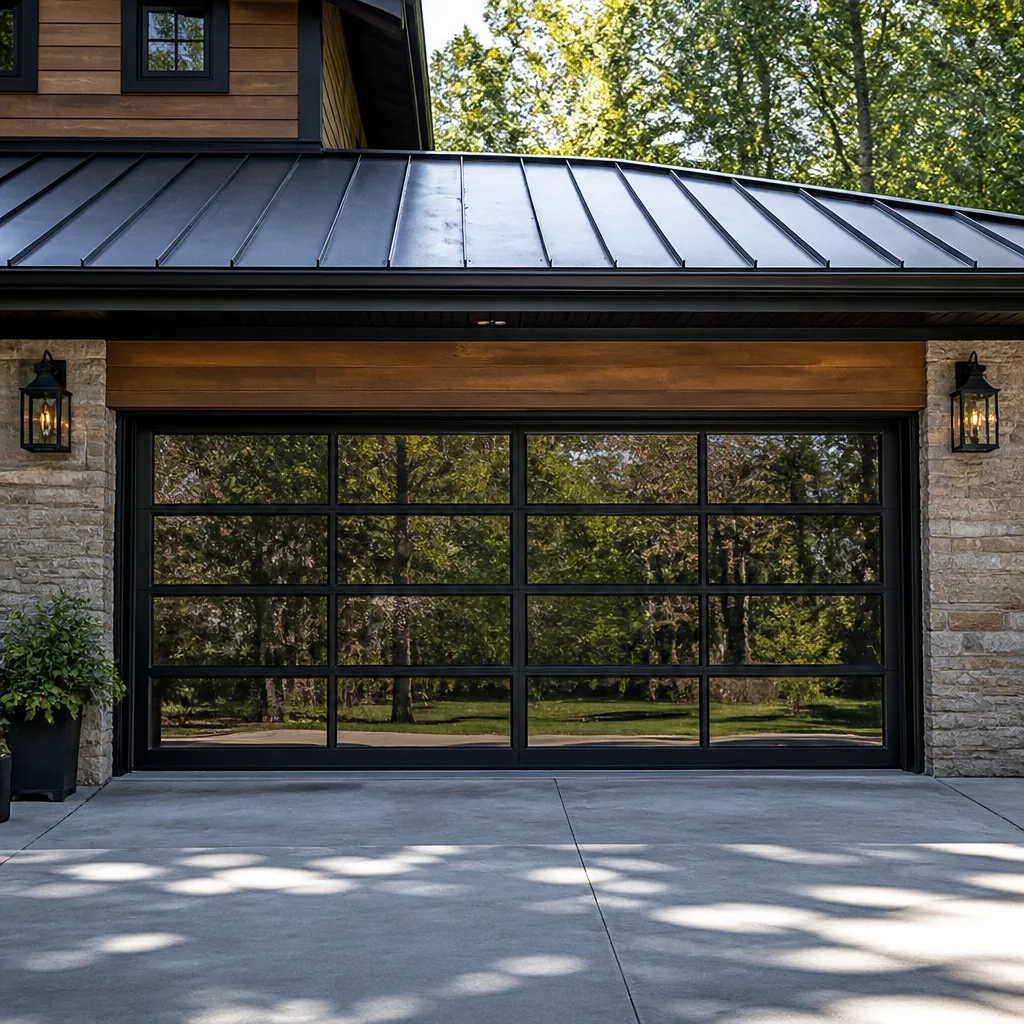 Full-view glass
 LiftMaster openers
 Chamberlain openers
Full 25-point door and opener safety check with every visit - springs, cables, rollers, tracks, and your LiftMaster or Chamberlain opener included
You get a price before we start. It does not change when the truck arrives.
Get your free estimateGarage Door Repair Troubleshooting: Common Problems and How to Fix Them
If your garage door is loud, slow, or uneven, those aren’t three separate problems. They’re usually one developing failure showing up in stages. We see it weekly here in Escondido: a homeowner notices the door sounds different, ignores it for a month, then calls us in a panic when the thing won’t open at all. By the time they call, the problem has spread from one component to three. Most troubleshooting guides tell you to look at symptoms in isolation. That’s backwards. A garage door talks to you for weeks before it fails, and learning to read that sequence saves you hundreds of dollars. This guide teaches you how to trace symptoms to their source, what you can safely address yourself, and what needs a trained technician with brand-specific knowledge. By the end, you’ll know exactly what your door is telling you and what to say on the phone so the right parts arrive the first time.
Quick Answer
Garage door troubleshooting starts with mapping the symptoms you’ve noticed in the order they appeared: noise, then slowness, then imbalance, then failure. Most issues trace to five components: springs, cables, rollers, the opener drive, or the photo-eye sensors. The fastest way to narrow it down is a four-point balance test you can do in five minutes with the opener released. If the door won’t stay put on its own, the opener was never the problem, and you should call our Garage Door Repair services rather than replacing parts blindly.
Styles & brands we work with
Table of Contents
- The Symptom Timeline: Reading the Sequence Before You Touch Anything
- The Four-Point Balance Test: Springs, Cables, or Opener?
- Door Won’t Open: The Five Causes and What Each Feels Like
- Door Won’t Close: Photo-Eyes, Logic Boards, and Stripped Gears
- Noise Diagnosis: What Each Sound Means
- Safety Limits and Force Settings: The Skeleton Key Reset
- The Component Decision Tree: Fix It Yourself or Hand It Off
- How to Describe Symptoms Over the Phone So the Right Parts Arrive
The Symptom Timeline: Reading the Sequence Before You Touch Anything
Garage door failures follow a progression. Understanding where you are in that sequence tells you more than any single symptom. Here’s what we observe in Escondido garages, where coastal humidity and inland heat swings put doors through alternating expansion and contraction cycles year-round.
Stage one: noise. The door makes a sound it didn’t make before. A creak at a specific panel point. A grinding from the opener housing. A metallic twang when the door starts moving. Most homeowners dismiss this as “old door noises.” It’s the earliest warning.
Stage two: slowness. The same door that opened in 14 seconds now takes 18. Or it hesitates at a particular point in its travel. This means a component is working harder than it was, and the opener is compensating. In our experience with LiftMaster and Raynor systems, the opener’s force settings often mask early-stage spring fatigue until the spring fails outright.
Stage three: imbalance. The door sits crooked in the opening, or one side lifts before the other. You might see a gap at one corner when closed. This is the last visible warning. Cables are now carrying uneven load. One spring may have already broken, or the door has shifted in its tracks.
Stage four: failure. The door won’t move, or it slams down, or the opener runs without engaging. By this point, the root cause has usually spread damage. A broken spring left unaddressed for two weeks often strips the opener drive gear because the motor strains against a door it can’t lift.
The takeaway: fix the noise before it becomes slowness. Fix the slowness before it becomes imbalance. Once you hit imbalance, stop using the door and call a professional. Every additional cycle risks secondary damage that doubles the repair bill; for more guides & resources, keep reading.
In Escondido specifically, we see more spring failures between October and November, when the first cold snaps arrive after months of heat. The temperature change affects spring metal fatigue. If your door is six or more years old and making new noises in late fall, get it checked before it fails on a Monday morning.
The Four-Point Balance Test: Springs, Cables, or Opener?
This test takes five minutes and tells you which major system is failing. It’s the single highest-value diagnostic step any homeowner can safely perform. The idea: disconnect the opener and test the door manually. A properly balanced door should feel nearly weightless because the springs are doing their job. If the door fights you, the opener was never the problem.
What you need: the emergency release cord (the red handle hanging from the opener rail). That’s it.
Before you start: make sure the door is closed. Never pull the release while the door is open and disconnected from the opener, a door with broken springs can come down hard. If the door is already open and you suspect broken springs, call a professional rather than trying to muscle it closed. High-tension springs and cables store enormous energy and can cause serious injury if handled wrong. This test is about observing, not forcing anything.
- Close the door fully. If it won’t close, skip straight to calling a technician. A door stuck open with suspected spring failure is an emergency.
- Pull the emergency release cord hanging down from the opener rail. This disconnects the door from the opener carriage. You’ll hear a click.
- Lift the door manually to about waist height using the handles or the bottom edge. Use both hands. Lift slowly.
- Let go gently. Don’t throw your hands away from it, but don’t keep holding either. Watch what happens.
Reading the result:
- Door stays at waist height: Springs are healthy. The door is balanced. If you’ve been experiencing problems, the opener is the likely culprit.
- Door drifts upward: Springs are over-tensioned. This is uncommon but happens after incorrect spring adjustments. Call a technician to recalibrate.
- Door drifts downward or drops: Springs are weak or broken. The opener has been compensating by working harder, which means the opener may have suffered hidden damage too.
- Door is extremely heavy to lift from the start: One or both springs have failed completely. Don’t force it. Lower it gently if you can, or leave it where it is, and call for repair.
This test works because it isolates the springs from the opener. About 70% of the “opener problems” calls we get in Escondido turn out to be spring or balance issues once we run this test. The homeowner replaced an opener motor, or worse, didn’t replace it and kept using a door with failing springs until the cables snapped too. At Ironside Garage Door Repair home we walk through this test on the phone before scheduling so we know what the technician is walking into.
Door Won’t Open: The Five Causes and What Each Feels Like
“Door won’t open” is the most common call we field from homeowners in Escondido, but it’s actually five different problems wearing the same costume. Here’s how to tell them apart by feel and sound.
1. Broken Torsion Spring
What it looks like: You press the remote or wall button and hear the opener motor run, but the door doesn’t move. Or it moves an inch and stops. If you look up at the spring bar above the door, you’ll see a visible gap in the spring coil, about the width of your finger.
What it feels like: The door is astonishingly heavy if you try to lift it manually. That’s because torsion springs counterbalance the entire weight: garage doors weigh 130 to 400 pounds depending on the model and material, and the springs do the lifting. Without them, you’re trying to dead-lift the whole thing.
The fix: Spring replacement is not a DIY job. The springs are under 150 to 250 pounds of torque, and the winding bars used for installation are essentially levers that can fire off with lethal force. We replace torsion springs same-day in most cases, and because we work with Wayne Dalton, Craftsman, Raynor, and LiftMaster systems specifically, we match the spring to the door’s exact weight, not a generic size that will fail early or launch the door too fast.
2. Stripped Opener Drive Gear
What it looks like: The motor runs, but you hear a grinding or whirring from inside the opener housing, and the door doesn’t move at all. Sometimes it moves partially, then the motor keeps running while the door stalls.
What it feels like: No resistance on the door itself if you disengage it. The problem is entirely inside the opener. Most modern openers, especially LiftMaster and Craftsman chain and belt drive models, use a plastic drive gear as a designed failure point so more expensive components don’t break.
The fix: Drive gear replacement is about a 40-minute job for a technician familiar with your specific opener model, and we carry the common gears for the brands we service. The gear itself is inexpensive. The labor is fair. Any Garage Door Opener Repair in Escondido specialist should be able to quote you over the phone once you can describe the gear-grinding sound.
3. Opener Logic Board Failure
What it looks like: The wall console lights up, but nothing happens when you press the button. Or the opener hums briefly and stops. No consistent mechanical sound.
What it feels like: The door is fine manually. The remote and wall button both fail to trigger movement, but the opener’s light works. Logic boards fail gradually sometimes, you’ll notice the opener forgetting its limits or behaving erratically in the weeks before total failure.
The fix: A logic board replacement usually makes sense only if the opener is under ten years old. Beyond that, replacement may cost about the same and get you newer safety features. A technician who knows your brand can tell you which makes financial sense. That’s the honest assessment we give, it’s not always the more expensive option that’s needed.
4. Limit Switch Malfunction
What it looks like: The door opens partway, or opens fully then immediately reverses as if it hit an obstacle. The motor is running fine.
What it feels like: The door moves smoothly when released, confirming the springs and cables are healthy. The problem is that the opener has forgotten where “open” and “closed” are. Limit switches tell the opener when to stop.
The fix: This is one of the few opener issues you can often fix yourself. The reset procedure varies by brand, LiftMaster and Craftsman use one method, Genie and Raynor sometimes use another, but it generally involves pressing and holding a programming button on the opener unit. We’ll walk through that in the safety limits section below.
5. Remote or Wall Button Failure
What it looks like: The opener responds to the wall button but not the remote, or vice versa. Sometimes it responds to both but only from six inches away.
What it feels like: Intermittent. That’s the key identifier. Logic boards and gears fail consistently; a bad remote or a dying wall button works sometimes and not others.
The fix: Start with the battery. Then check if the wall button works when the remote doesn’t, that isolates the problem to the remote. If the remote works but not the wall button, the wall console or its wiring is the issue. One other culprit in Escondido: nearby military radar installations can occasionally interfere with older fixed-code remotes. If your remote worked for years and suddenly got unreliable, interference is a real possibility, and newer rolling-code remotes solve it.
Door Won’t Close: Photo-Eyes, Logic Boards, and Stripped Gears
This is the most misdiagnosed issue in garage door repair. A door that won’t close can be caused by three completely different systems, and treating the wrong one wastes time and money. Here’s how to separate them.
The Photo-Eye False Alarm
Since 1993, federal safety regulations have required garage door openers to stop and reverse if anything interrupts the invisible infrared beam across the door opening. The photo-eye sensors are the two small units, one on each side of the door, usually four to six inches off the ground.
Symptoms: The door closes partway, then reverses to fully open. The opener light flashes. The key pattern: the door reverses every single time at roughly the same point, and the problem is repeatable.
What to check:
- Are the sensors aligned? Each unit has a small LED light. Both should be solid. If one is flickering or dark, the beam is broken or the unit is misaligned.
- Is something in the path? A leaf, a bike tire, a box. Even a cobweb across the lens can scatter the beam in humid Escondido mornings.
- Are the lenses clean? Wipe both with a dry cloth.
- Is the sunlight hitting the receiver? In Escondido, doors that face east get direct morning sun. The IR receiver can be temporarily blinded by bright sunlight, which mimics a blocked beam. A simple shade, like a cardboard tube taped around the sensor, often fixes this.
Most photo-eye issues are fixed in five minutes with alignment and cleaning. If the beam is aligned, clean, and shaded, and the door still reverses, the problem is elsewhere.
The Logic Board Ghost
When a logic board starts failing, it can produce symptoms that look exactly like photo-eye problems: the door reverses for no visible reason, the opener light blinks, the door behaves erratically.
The telltale difference: A photo-eye issue is consistent. A logic board failure is not. It happens at different points in the door’s travel, or only when it’s cold, or after the opener has been running for a while. The randomness is the signature.
The fix: This requires a technician with a diagnostic approach, not a part-swapper. We check the simple stuff first: the sensors, the wiring, the connections. Only when those test healthy do we condemn the board. The parts are too expensive to replace on a guess.
The Stripped Gear Repeat
Here’s the overlap that confuses everyone: a stripped drive gear can also make the door reverse. Here’s why. The gear strips partially, the opener carriage slips, the door jolts downward slightly, and the safety system interprets that jolt as an impact. The door reverses.
The telltale difference: Listen carefully. A photo-eye reversal is silent except for the motor and the door. A stripped gear produces a ratcheting or grinding sound from the opener housing during the closing attempt. If you hear grinding while the door reverses, you have a mechanical opener problem, not a sensor problem.
This is where brand familiarity matters. A Garage Door Opener Repair in Escondido technician who works with LiftMaster, Chamberlain, Raynor, and Craftsman units daily recognizes the failure signatures of each model. We’ve seen the same problem diagnosed as “needs a new opener” when it actually needed a twelve-dollar gear, because the first technician didn’t know the model’s known failure points.
Noise Diagnosis: What Each Sound Means
Garage doors talk. Most people just don’t speak the language. Here’s the translation for the sounds we most commonly investigate around Escondido.
The Creak at One Panel Point
What it means: A hinge pin or roller bearing is dry or binding. It happens once at the same spot in the door’s travel every time.
What to do: This is a maintenance item. A spray of white lithium grease on the hinge pins and a drop of oil in each roller bearing usually resolves it. Do not use WD-40, it’s a solvent that washes away existing lubricant. Use a garage door lubricant or a silicone spray. If the creak persists after lubrication, the roller is likely worn to the point of replacement, a five-dollar part and a ten-minute job for someone with the right tools.
The Metallic Twang on Startup
What it means: This one deserves attention. A twang or bang when the opener first engages usually means the torsion spring is binding or the spring has begun to fatigue. Springs are under continuous tension, and when a coil begins to break, the releasing energy makes a sharp metallic sound.
What to do: Stop using the door and call a technician. The spring may have a hairline crack that hasn’t fully separated yet. Catching it now means replacing one spring before it breaks and takes out the other, or damages the cables. Catching it after it breaks often means the door slams down on something or the cables snap.
The Rumble from the Opener Housing
What it means: The opener motor or drive is under strain. This can be because the springs are weak and the motor is working harder than designed, or because the internal drive components are wearing out.
What to do: Run the balance test. If the door is heavy manually, the rumble is a spring problem, and the opener is the victim, not the villain. If the door is balanced, the opener itself needs service. A rumble that turns into a grinding means the drive gear is stripping, as covered above.
The Squealing from the Roller Track
What it means: Dry or worn rollers, or a track out of alignment. Track misalignment makes the rollers rub hard against the track wall, producing a high-pitched squeal.
What to do: Lubricate the rollers first. If the squeal continues, check whether the tracks are vertical and parallel. You can check track alignment visually: the gaps between the roller and track on the left side should match the gaps on the right. If they don’t, the track is shifted, and bolts holding it to the wall may have loosened. Tightening those bolts is safe. Reshaping a bent track is not, that’s a job for a technician.
The Pop-Crack-Pop From the Springs
What it means: The torsion spring is binding as it coils and uncoils. This can happen with age as the spring’s coil spacing becomes uneven. It can also indicate the spring wasn’t sized right for the door originally.
What to do: Call for service. Binding springs are under uneven stress, which accelerates fatigue. In our experience with Wayne Dalton and Clopay doors, binding often shows up in doors that have been serviced before with the wrong spring size. A technician who knows your door brand can identify the right spring from the door’s weight, not just from the broken spring’s size, because the previous spring may have been wrong.
Safety Limits and Force Settings: The Skeleton Key Reset
Before calling a technician about mysterious opener behavior, learn how to reset the safety limits and force settings. About a third of “door won’t close all the way” or “door opens too far” calls we field resolve with a simple reset. It’s like rebooting the opener’s memory.
What the Settings Do
Travel limits tell the opener how far to move the door in each direction. Open too far, and the carriage hits the stop bolt. Closed too hard, and the door grinds into the floor. These settings drift over time, especially with belt-drive openers, or after a power surge.
Force settings tell the opener how much power to apply before reversing. If the force limit is too sensitive, the door reverses when it meets the friction of cold weather or dry rollers. If it’s too aggressive, the door will push through obstructions, which is a safety hazard that defeats the auto-reverse protection.
The General Reset Process
Procedures vary by brand. This is the general sequence for most LiftMaster, Craftsman, and Chamberlain models. Raynor and Genie units are usually similar but may use different button combinations. Your opener’s manual is the authoritative guide.
- Locate the “learn” or “adjust” button on the back or side of the opener motor unit. It’s usually near where the wiring harness connects.
- Press and hold the button until the indicator light blinks, typically about six seconds. This enters programming mode.
- Find the limit adjustment screws or buttons. Older models have physical screws labeled “up” and “down.” Newer models have arrow buttons near the learn button.
- Set the up limit first. Press the up arrow or turn the up screw until the door reaches the correct fully-open position, then confirm.
- Set the down limit second. Adjust until the door touches the floor without grinding, then back it off slightly. The door should seal but not strain.
- Adjust force settings. If your model has force controls, set them near the middle of the range, then test the safety reverse by laying a 2×4 flat on the floor under the door. The door should reverse within two seconds of contacting it. If it doesn’t, adjust force downward and retest.
If you’re uncomfortable with any part of this process, or if the adjustments don’t hold, that’s useful information for us. Tell the technician what you tried and what happened. It narrows the diagnostic field significantly.
The Component Decision Tree: Fix It Yourself or Hand It Off
We’re going to be straight with you about what you can safely tackle and what genuinely requires a trained hand. This tree is the split between maintenance tasks and repair work. In Escondido, where garage doors are daily-use items, not seasonal, the rule of thumb is simple: if the fix involves loaded tension, electrical wiring, or lifting a heavy door off its tracks, it’s professional territory.
Safe to Do Yourself
- Lubricating rollers, hinges, and the opener chain. Use the right lubricant, apply sparingly, wipe excess.
- Cleaning and aligning photo-eye sensors. A dry cloth and a level. Five minutes.
- Tightening loose hardware. Track bolts, hinge screws, opener mount bolts. Use a socket set, not an impact driver.
- Replacing remote batteries. The easiest fix that gets ignored.
- Running the four-point balance test. Diagnostic, not a repair, and it saves the technician time.
- Adjusting travel limits. As described above, using your opener’s specific instructions.
- Checking and clearing track debris. Rocks, leaves, and the occasional lizard. Escondido ground-level tracks collect more than you’d expect.
Leave It Alone and Call a Professional
- Spring replacement of any kind. Torsion springs and extension springs are loaded with enough energy to cause catastrophic injury. This is not a hobbyist repair.
- Cable replacement or re-spooling. Cables work in tandem with springs and are under similar tension. A cable that snaps while you’re working near it is a violent event.
- Track reshaping or replacement. Track alignment affects every other component. A bent track stresses rollers, cables, and springs.
- Opener motor or logic board replacement. Involves electrical work and proper calibration.
- Door panel replacement. Panels are heavy, and a dropped panel can break bones. It also usually means rebalancing the door, which means the springs.
- Anything involving removing the bottom roller bracket. That bracket holds cables under tension. No.
Here’s what we tell friends and family in Escondido: if the repair instruction starts with “remove the spring” or “disconnect the cable,” call a professional. The cost of a service call is far lower than an emergency room visit, and garage door injuries are more common than most people realize. The Garage Door Installation in Escondido work we do always starts from a properly balanced and safely tensioned door, because that’s the foundation everything else sits on.
How to Describe Symptoms Over the Phone So the Right Parts Arrive
The biggest frustration in home service, from both sides of the phone, is a dispatcher who can’t get useful information. Here’s what to tell the person who answers, so the technician arrives with the right parts and a focused plan. This is what we ask every caller, because it works.
The Diagnostic Script
- Brand and approximate age of the door and opener. “It’s a Wayne Dalton door with a LiftMaster opener, installed around 2012.” This tells us which parts to stock.
- What you were doing when it failed. “I came home from work and pressed the remote, the door went up six inches and stopped.” The failure context is a diagnostic goldmine.
- What you hear. Grinding, hum, click, nothing. “Hear” matters more than “see” for opener issues.
- What you see. Door crooked, gap in spring, visible cable slack, flashes on the opener light. Count the flashes if you can.
- The result of the balance test. If you ran it, report it. “Door is heavy to lift manually” tells us springs, not opener.
- Anything tried already. “I lubricated the rollers and the creak went away, but the door still opens slowly.” That narrows it.
What NOT to Say
Don’t diagnose for us. You don’t need to say “I think the spring is broken.” Describe, don’t conclude. The more raw observations you give, the more accurately we can prepare. A caller who says “The door won’t open, I hear a grinding sound from the motor box” gets a truck stocked with drive gears. A caller who says “My garage door is broken” gets a technician with a full truck, which still works, but takes longer to sort out on site.
At Garage Door Repair in Escondido, we ask the same questions every time, and the answers genuinely change what we load in the truck. When you call Ironside Garage Door Repair at (855) 341-7752, be ready to describe the sequence: what happened first, what happened next, and what’s happening now. That’s the fastest route to a fix.
Common Mistakes to Avoid
- Lubricating everything with WD-40. WD-40 is a solvent. It removes the grease that was already doing the job, leaving components drier than before. Use white lithium grease or silicone spray. In Escondido’s dry summers, under-lubricated rollers fail fast.
- Continuing to use the door after a symptom has changed. A noise that appears once is a repair bill in the making. Using the door another fifty cycles while a spring degrades turns a $300 job into an $800 job.
- Replacing the opener without checking door balance. We see this several times a year. Homeowner installs a new opener, then the door still won’t lift. The original problem was springs. The new opener was unnecessary.
- Trying to fix a sliding door panel or off-track roller with force. If the door appears off its track, pulling it will make it worse. Tracks are structural. Forcing the door usually bends the track beyond repair.
- Ignoring the flashing opener light. Modern openers flash diagnostic codes. A flashing light isn’t random, it’s a built-in error report. The pattern, like Morse code, tells a technician what the opener already knows.
- Mixing old and new springs. If one spring breaks and you replace only one, the other is usually near the end of its life and will fail too. Using springs with different tension ratings accelerates both failures. Replace springs in pairs.
- Disconnecting the door from the opener while the door is open. A balanced door stays put. A door with failing springs will come down. Sudden, uncontrolled descent while you’re underneath is a life-threatening accident. Always run the balance test from the closed position.
See the difference
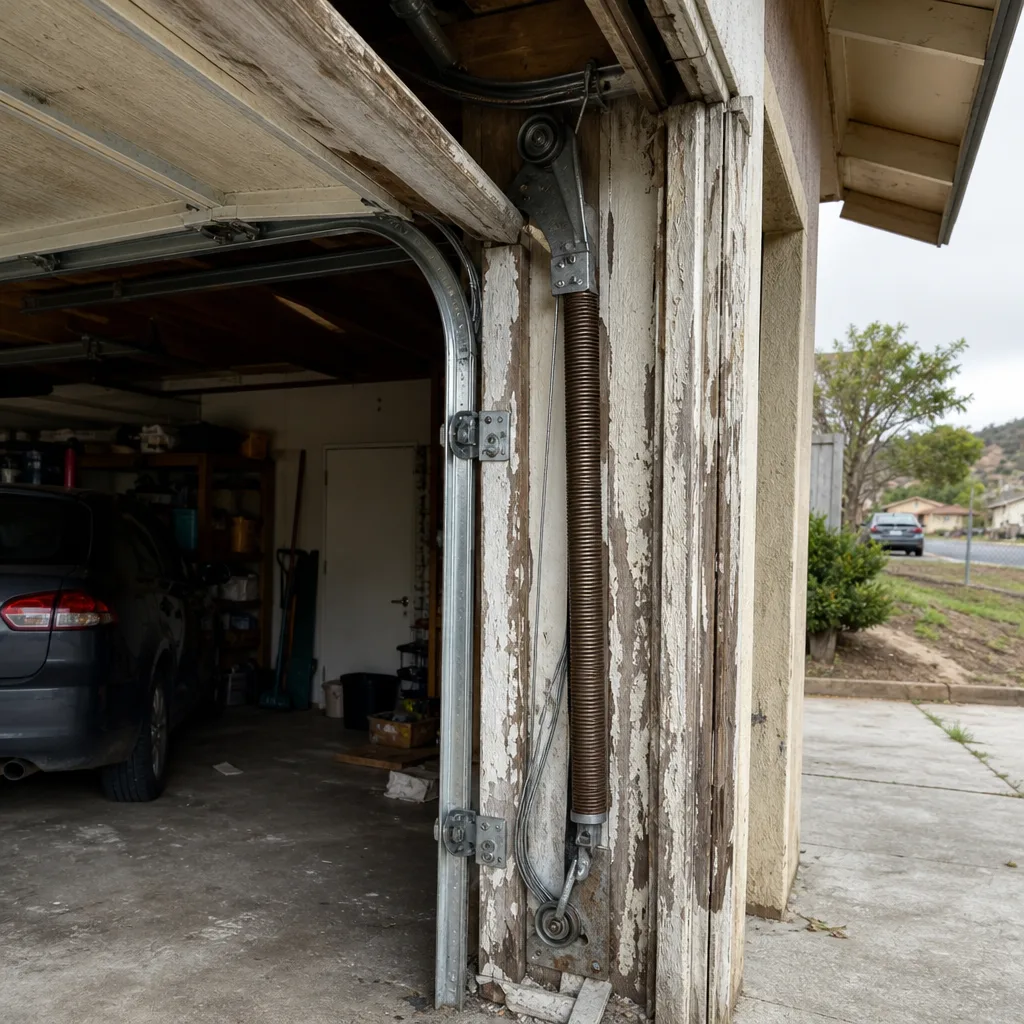 Before
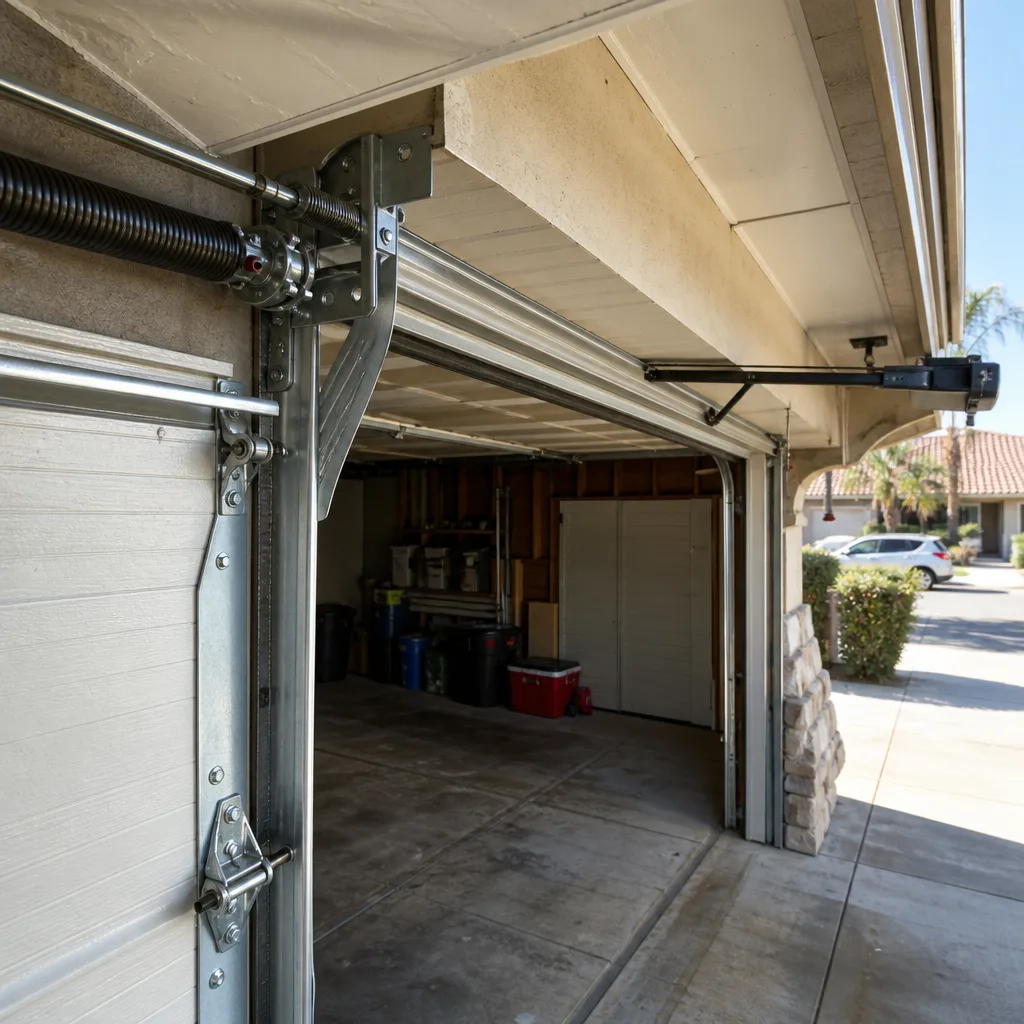 After
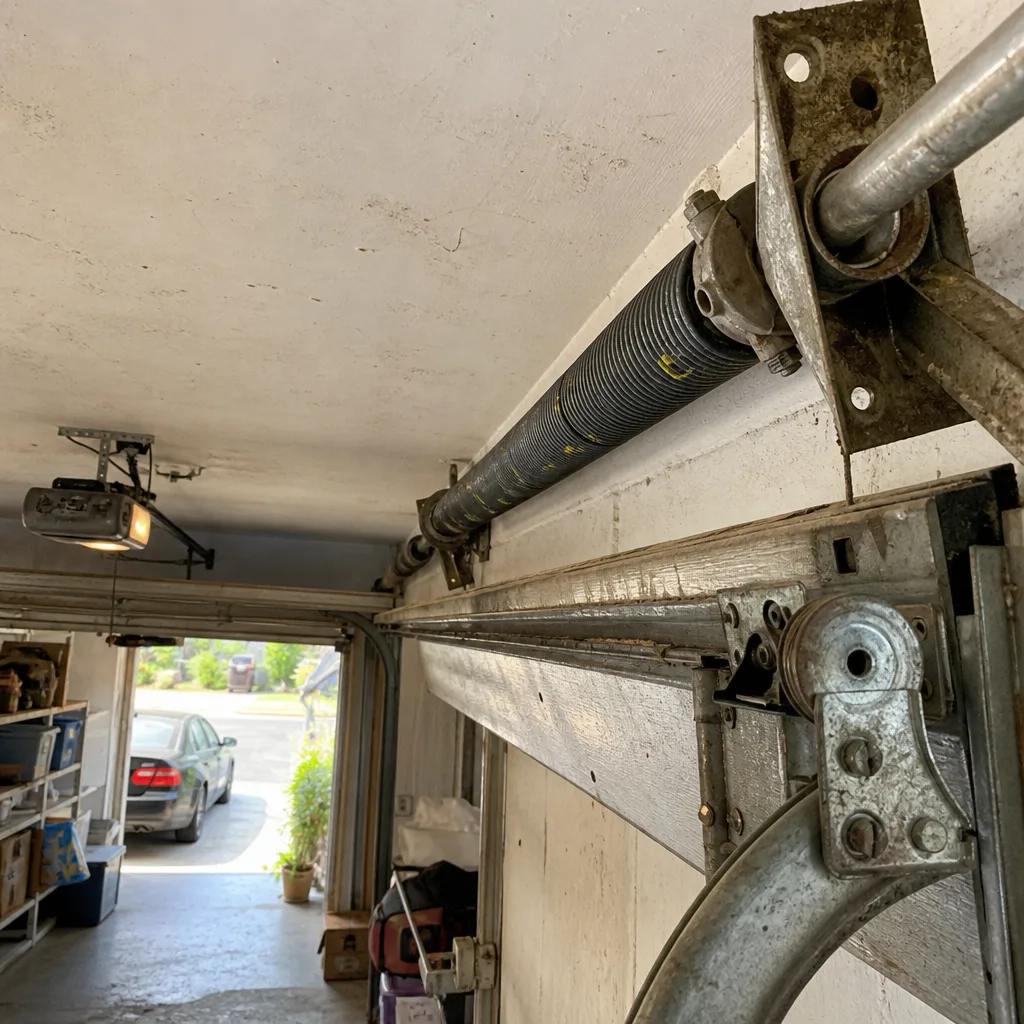 Before
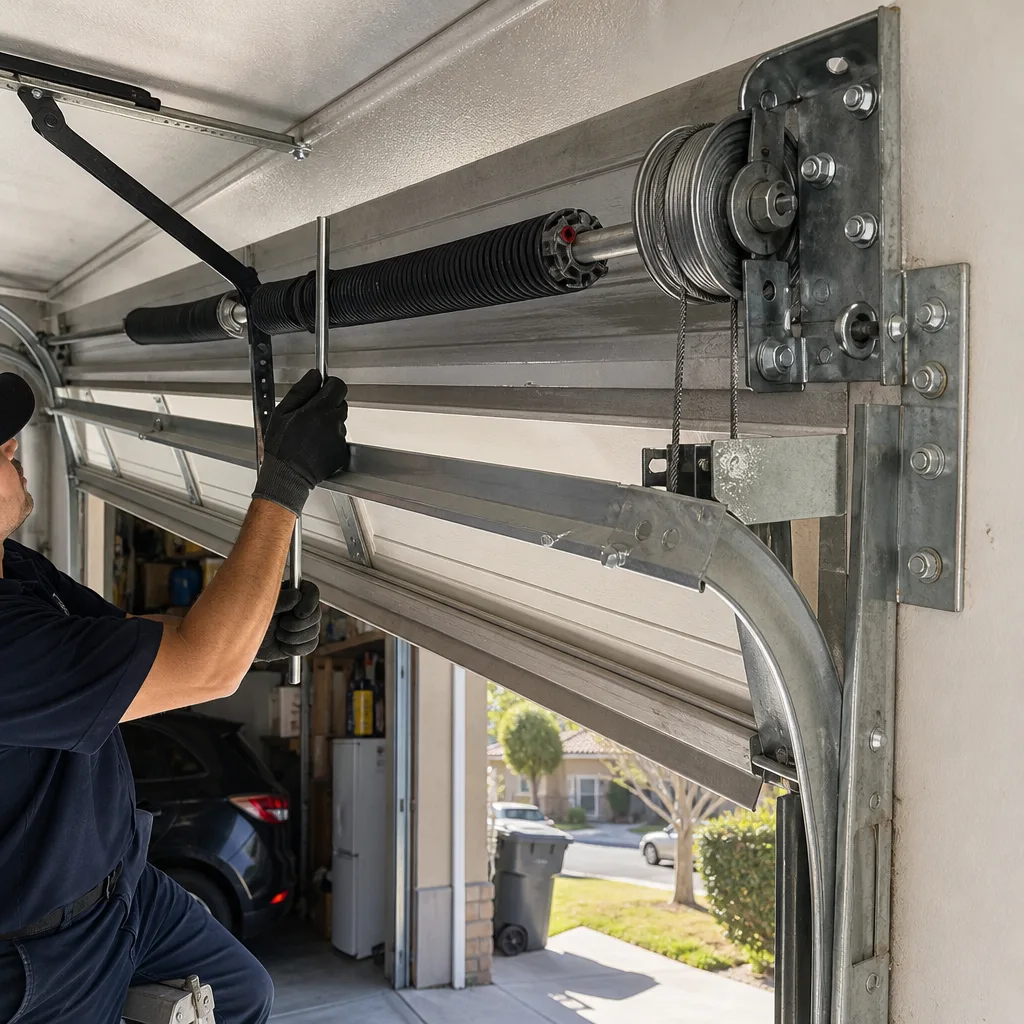 After
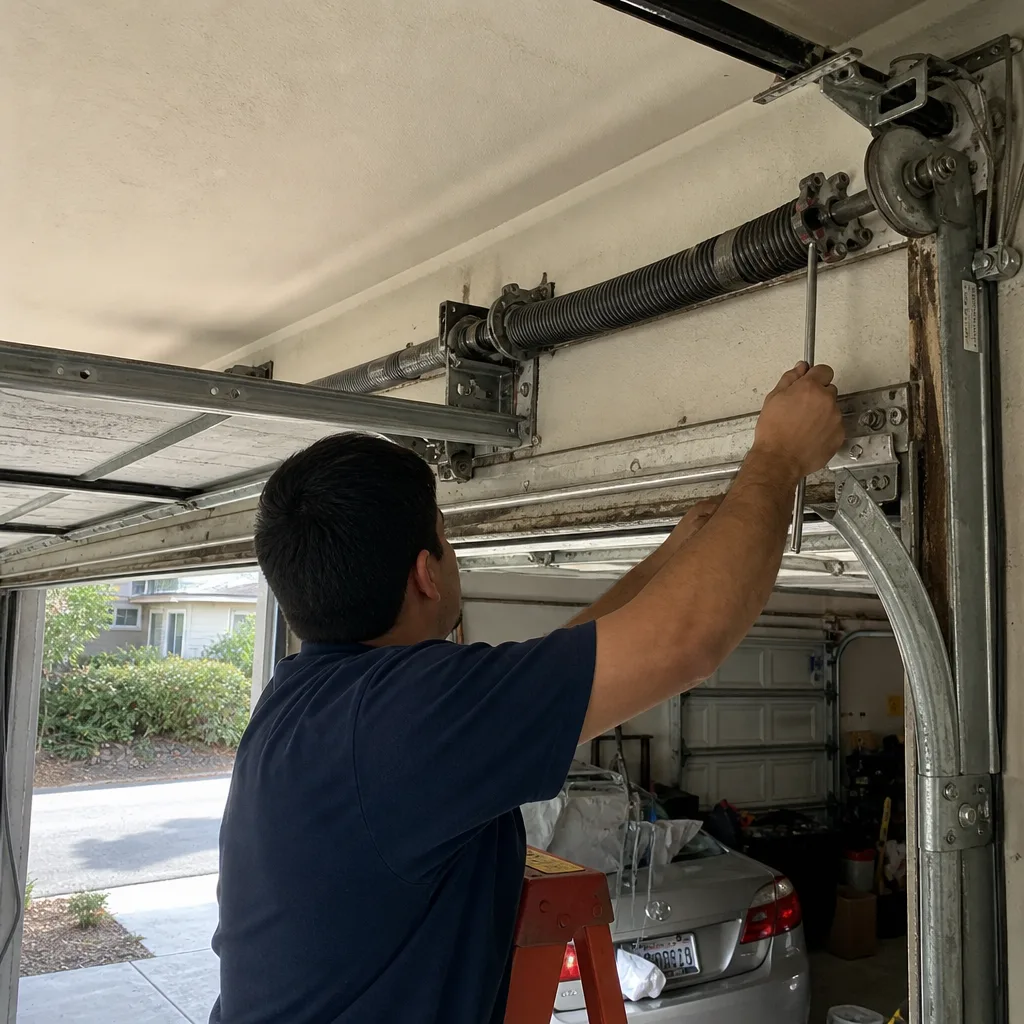 Before
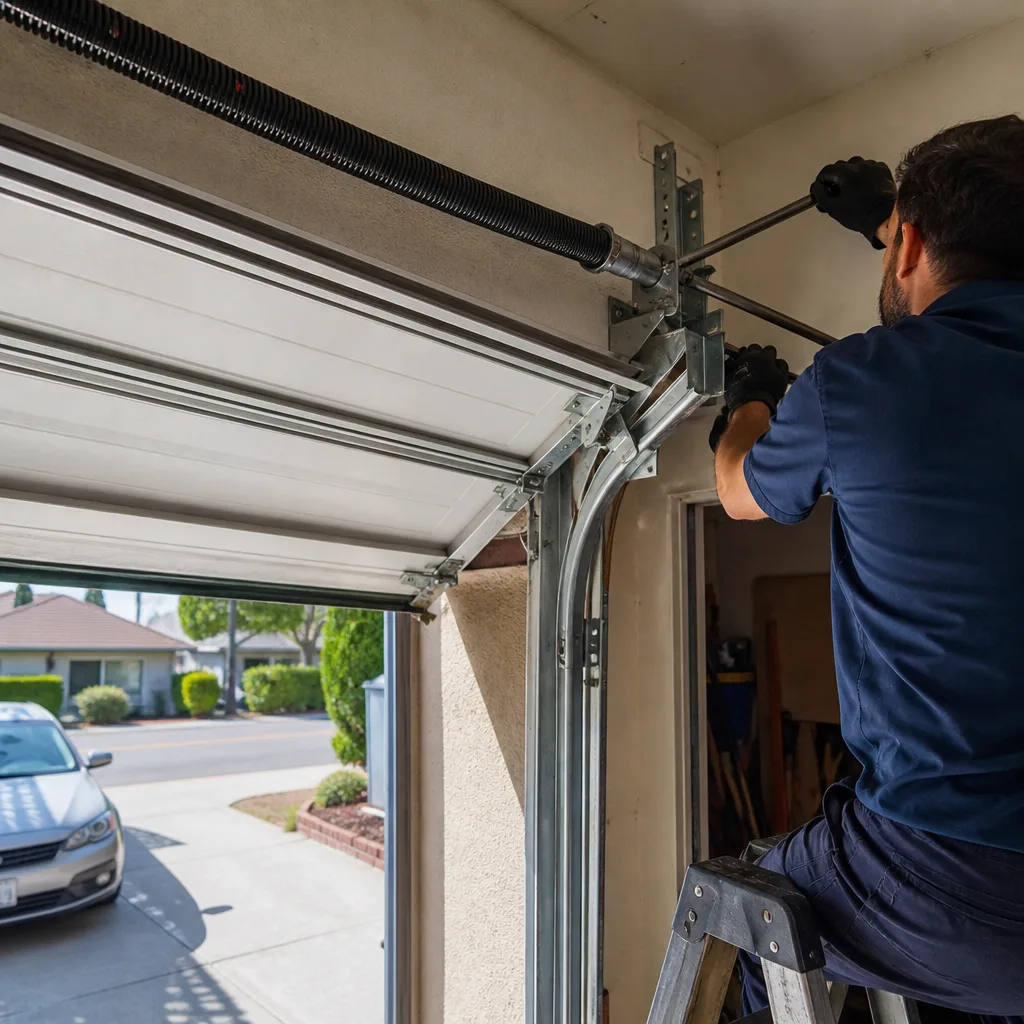 After
When to Call a Professional
Call a professional when the problem involves loaded springs or cables, when the door is off its tracks, when the opener’s internal components are failing, or when you’ve worked through the basic checks and the door is still misbehaving. The first three scenarios are dangerous, and the fourth is usually a sign that the problem is subtle and needs experienced eyes.
Specific scenarios that warrant an immediate call: visible gap in a torsion spring, door that crashes down when released, cable that’s visibly frayed or off its pulley, door that’s crooked in the opening, opener grinding with the door stalled, or any situation where people or vehicles can’t get in or out safely because the door won’t stay open or closed on command.
Ironside Garage Door Repair offers free estimates in Escondido, call (855) 341-7752. We’ll ask the diagnostic questions above during the call so the technician arrives prepared. No pressure, no unnecessary replacement recommendations. You have a door, and we know the brands. We’ll tell you what’s wrong and what it takes to make it right, then let you decide.
Frequently Asked Questions
Garage door spring replacement in Escondido typically ranges from $250 to $450 for a pair of springs, including the service call, labor, and parts. The exact price depends on the door weight, spring type, and whether you have a standard torsion setup or a specialty brand like Wayne Dalton’s TorqueMaster system. We always quote the full price before any work starts, and that quote doesn’t change once the technician arrives. Call (855) 341-7752 for a specific price on your door.
No. Torsion springs are under 150 to 250 pounds of torque, and extension springs store kinetic energy that releases violently if a cable or bracket fails. The winding bars used for torsion springs are levers that can fire off with bone-breaking force if the spring slips during installation. Garage door spring injuries are among the most common home-repair accidents seen in emergency rooms, and the pattern is nearly always the same: a homeowner with solid mechanical skills, one wrong move, a lifetime of hand damage. This is the one repair where “call a professional” isn’t a recommendation, it’s a safety requirement.
A garage door that opens but won’t close is usually a photo-eye sensor problem: the infrared beam is misaligned, blocked, or blinded by sunlight. Check the small sensors on each side of the door opening. Both should show a solid indicator light. If one is flickering or out, adjust the sensor alignment or clean the lens. If both lights are solid and the door still reverses, the problem may be a failing logic board or a stripped drive gear in the opener. A troubleshooting approach that separates the sensor from the opener from the gear is the fastest route to the right fix.
Once a year is the right interval for most Escondido homes. Our climate alternates between dry heat and coastal moisture, which causes metal parts to expand and contract. Rollers dry out faster in the heat, hinges bind as humidity shifts, and springs fatigue faster when temperatures swing. An annual tune-up usually includes spring inspection, cable check, roller and hinge lubrication, balance test, and limit adjustment. Homes near the coast, where salt air accelerates corrosion, may benefit from twice-yearly checks.
The flashing light on your garage door opener is a diagnostic code. The number of flashes, like a pattern of blinks, corresponds to a specific error: photo-eye misalignment, wire short, thermal overload, or logic board failure, depending on the brand and model. LiftMaster and Craftsman use one set of codes, Raynor uses another, and Genie has its own. The code is documented in your opener’s manual, or you can describe the pattern over the phone and a technician familiar with your brand can usually identify it immediately. Don’t ignore it. The opener is telling you what’s wrong.
No. A heavy door means the springs have failed or fatigued, not the opener. The opener was never designed to lift the door’s full weight, it’s only meant to move a spring-balanced door. Replacing the opener while the springs are worn will burn out the new opener’s motor within months. Run the balance test: disconnect the opener and lift the door manually. If it’s heavy, you need spring service, not an opener. This is the most common expensive mistake we see homeowners make.
The Bottom Line
Read the sequence. The noise you heard last month is connected to the slowness you notice this week and the imbalance you’ll see next month. Garage doors fail progressively, and every stage of that progression is a cheaper fix than the one after it. The four-point balance test tells you whether your springs or your opener are the real problem in about five minutes. Noise has meaning. The flashing light is a code, not a glitch.