
Last updated October 31, 2026
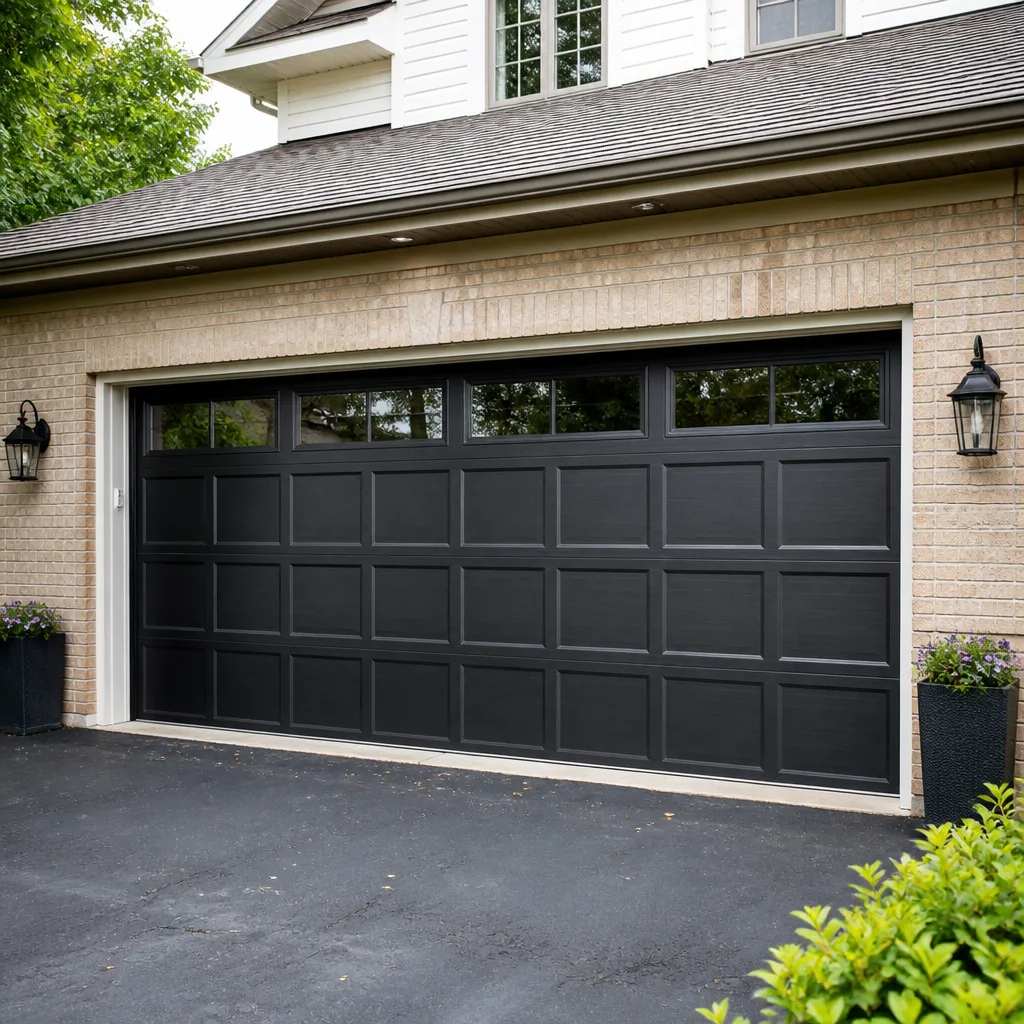 Raised-panel steel
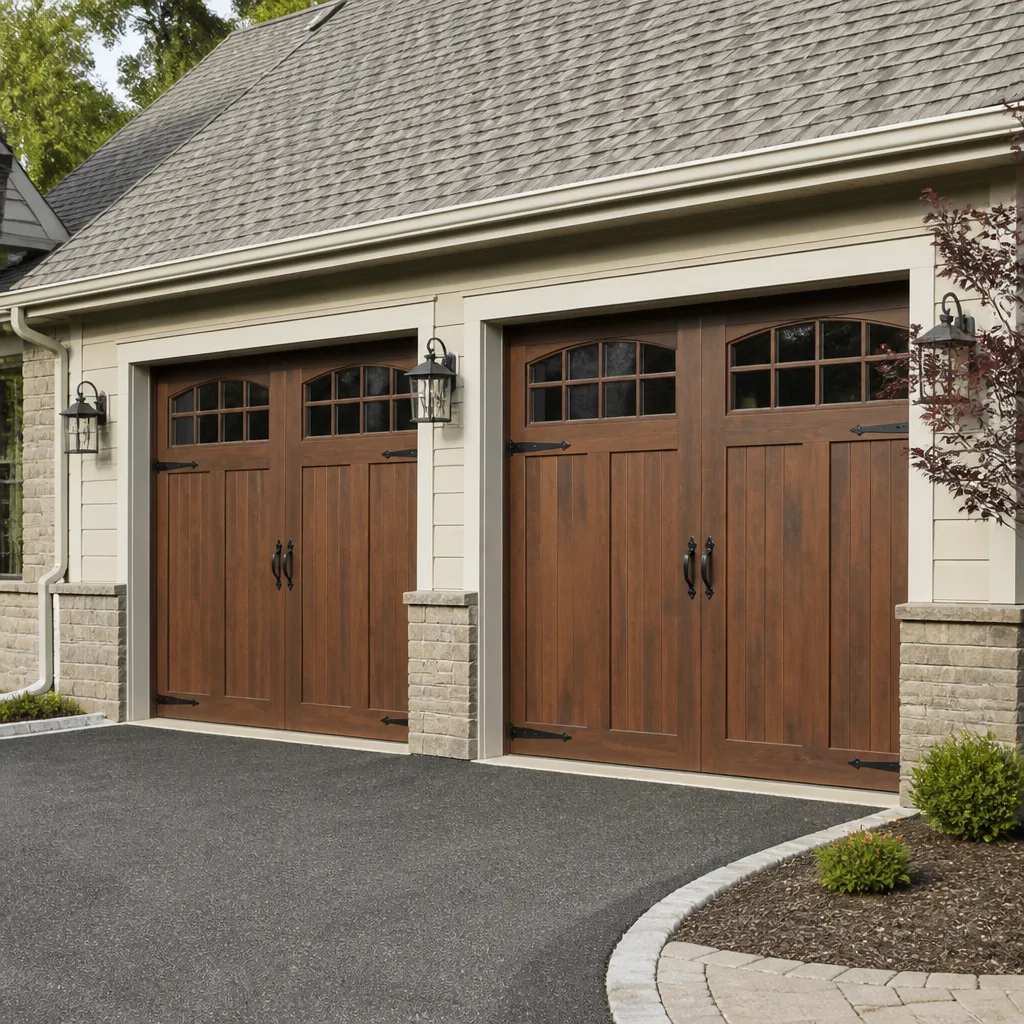 Carriage house
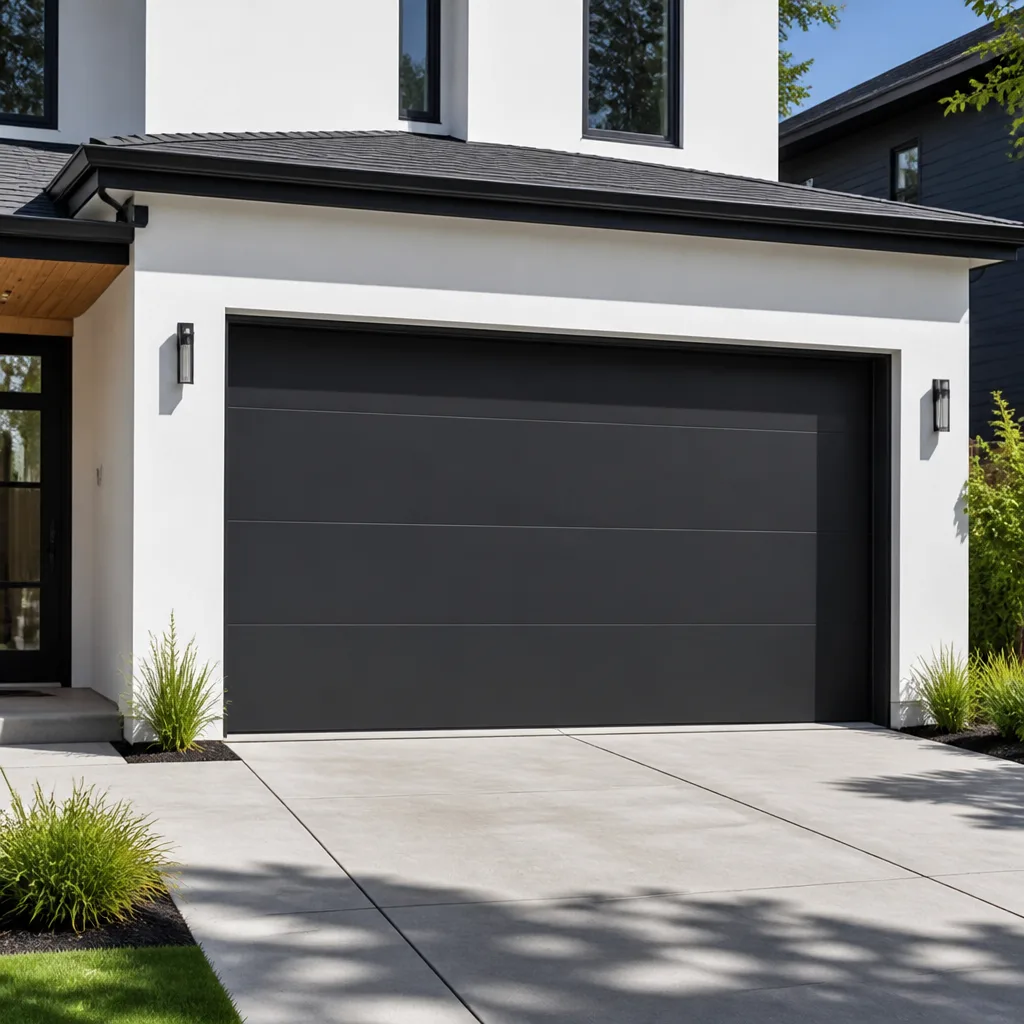 Modern flush
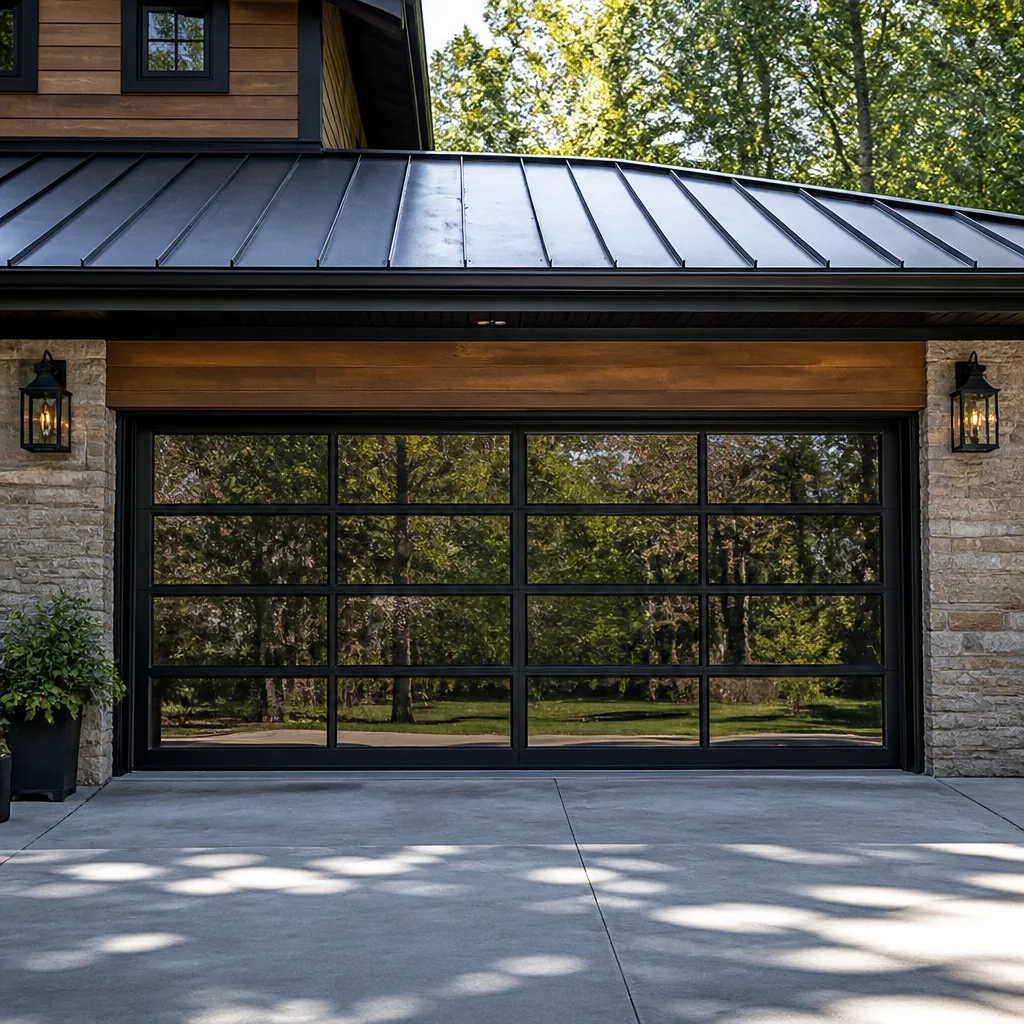 Full-view glass
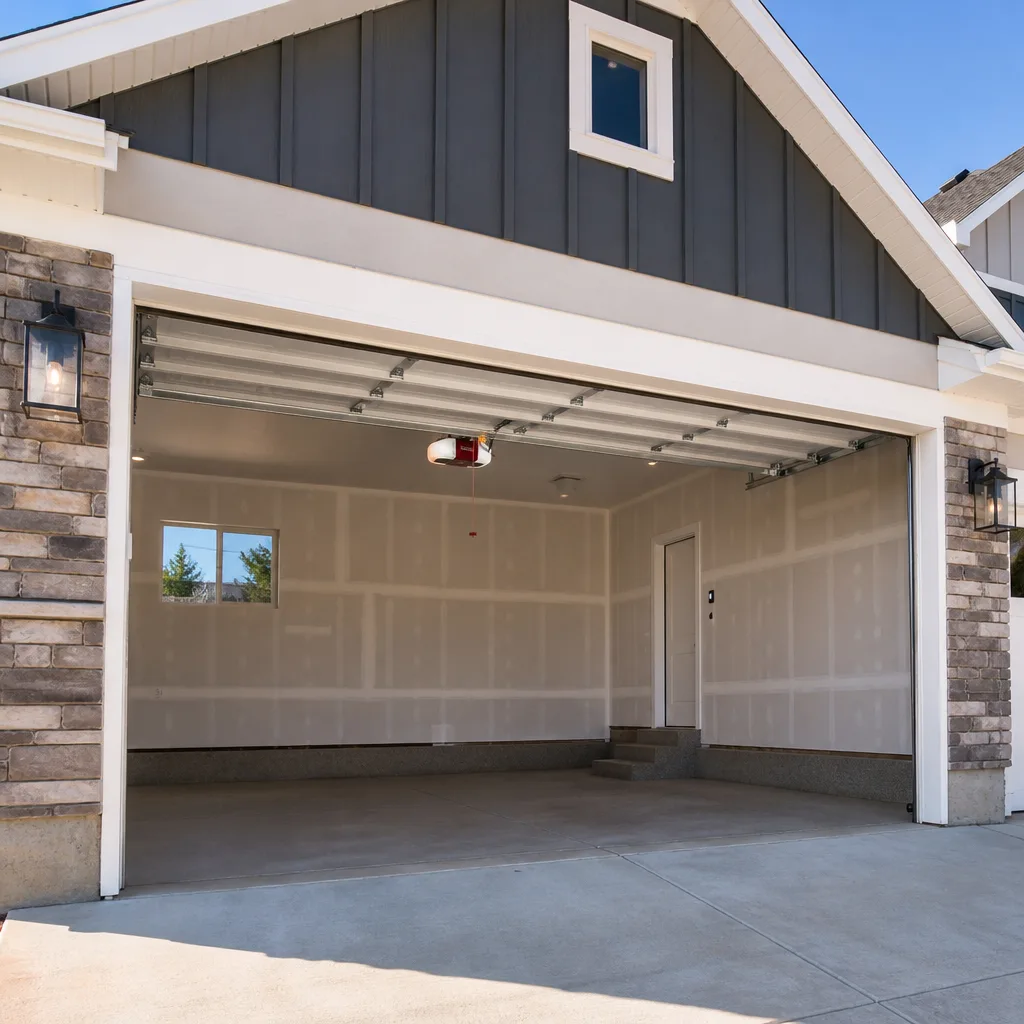 LiftMaster openers
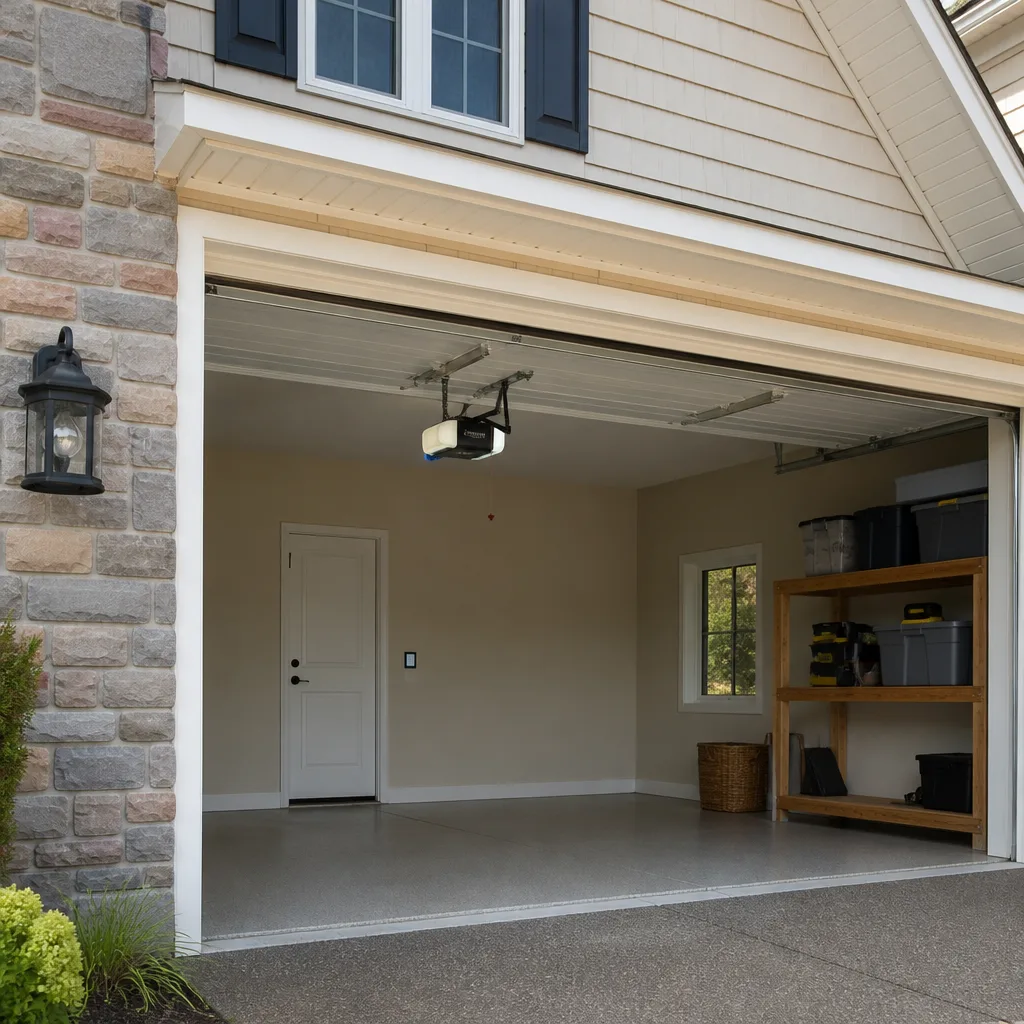 Chamberlain openers
Full 25-point door and opener safety check with every visit - springs, cables, rollers, tracks, and your LiftMaster or Chamberlain opener included
You get a price before we start. It does not change when the truck arrives.
Get your free estimateDIY vs Professional Garage Door: The Escondido Homeowner’s Decision Guide
Here’s a number that puts the whole debate into perspective: the torsion springs above your garage door hold between 100 and 250 pounds of torque each, and when one snaps, the released energy is comparable to a small-caliber firearm discharge. In Escondido, where summer heat pushes garage interior temperatures past 110 degrees and accelerates metal fatigue, spring failures happen with seasonal regularity. The question isn’t whether you’re handy enough to fix your garage door. The question is whether the specific task in front of you falls into the small category of jobs a homeowner can safely complete, or the much larger category that sends people to urgent care every year. This guide walks you through the mechanical reality, the cost math, and the honest assessment of where the line sits between a Saturday project and a professional call.
Styles & brands we work with
Quick Answer
Most garage door maintenance tasks in Escondido fall into one of two categories: safe, low-risk DIY jobs (lubrication, weatherseal replacement, sensor realignment, remote programming) and genuinely dangerous work that requires specialized tools and training (torsion springs, cable drums, track realignment, double-car door balance). The deciding factor is not your skill level or confidence, it’s the mechanical energy stored in the system and whether a mistake can cause serious injury. For anything involving spring tension or cable under load, a professional diagnosis from a dedicated garage door company costs less than an emergency room visit and typically less than the tools required to do the job safely. If you’re unsure whether your situation qualifies, our Garage Door Emergency Preparedness Guide for Escondido Homes can help you assess the risk.
Table of Contents
- The Hard No-DIY List: What You Should Never Touch Yourself
- Legitimate DIY Tasks: What You Can Safely Do This Weekend
- The Tool and Parts Reality Check
- Cost Math That Actually Works: When DIY Saves, When It Backfires
- Partial DIY: What to Do Before the Technician Arrives
- Escondido-Specific Factors That Change the Equation
- Common Mistakes to Avoid
- When to Call a Professional
- Frequently Asked Questions
- The Bottom Line
The Hard No-DIY List: What You Should Never Touch Yourself
We’re going to be direct here, because sugarcoating this gets people hurt. There are four components on a garage door system that should never be serviced by anyone without professional training and the right equipment. This isn’t gatekeeping, it’s physics.
Torsion Springs
A torsion spring on a double-car garage door in Escondido is typically wound to 7.5 to 8.5 turns when installed. That’s 150 to 200 pounds of stored tension per spring, and most doors have two. When a spring snaps, it doesn’t just lose tension quietly. It releases all of that energy at once, and if you’re in the path of the winding bar or the spring itself, the result is a shattered hand, broken arm, or worse. You cannot tell how much residual tension remains by looking at a spring. You cannot safely release it with a pair of locking pliers and a screwdriver from a YouTube video. In our experience, we’ve seen homeowners attempt spring replacement with improvised winding bars and end up with the bar thrown across the garage at speeds that would crack a windshield. This is the single most dangerous component on any residential door, and it’s the number one reason emergency rooms see garage-door-related injuries every month.
Cable Drums and Lift Cables
The cables on your garage door run from the bottom brackets, over pulleys, and wrap around drums at the top. Under normal operation, each cable carries roughly half the weight of the door. On a double-car door, that’s 100 to 150 pounds per cable. When a cable frays and breaks, the door becomes unbalanced instantly, and the remaining cable takes the full load. Replacing a cable requires detensioning the spring system first. If you skip that step, or if you don’t know how to properly seat the new cable on the drum, you’re working next to a loaded system that can pull a hand into the drum assembly with zero warning. The mechanical reasoning here is simple: cables under load are saws. They don’t care how careful you think you’re being.
Track Realignment on Double-Car Doors
A double-car door, typically 16 feet wide, weighs between 250 and 400 pounds depending on material. When the door comes off the track and you try to force it back into position, you’re working against gravity, spring tension, and a door that wants to fall in a direction you can’t control. The track itself is connected to the wall with lag bolts and brackets that are designed to hold the door in a straight line, not to resist lateral force from someone prying with a crowbar. A homeowner attempting track realignment without a professional door lift or proper jack stands is one slip away from a 300-pound door coming down on their chest or head. This job requires a specific lifting technique, proper support equipment, and usually an adjustment to the spring tension afterward to reset the balance.
Bottom Bracket Replacement
The bottom brackets connect the lift cables to the door itself. This is a trap because it looks simple: two bolts, maybe three, and the bracket comes off. The problem is that these brackets are directly connected to the loaded cables. Remove the bolts without securing the cable first, and the entire spring-cable system releases through that bracket. If you’re holding it, the bracket becomes the projectile. This is a job that requires the spring system to be fully detensioned first, which loops back to the first item on this list.
The Safety Caveat
Every item on this list involves stored mechanical energy that cannot be visually confirmed as fully released. Professional garage door technicians train on these specific hazards, carry the right tools, and follow a sequence of steps that prevents the energy from releasing unexpectedly. A motivated homeowner with a socket set fundamentally cannot replicate those conditions. If you’re in Escondido and any of these components fail, call a professional. The Garage Door Repair in Escondido team we operate handles these exact failures daily, and the diagnosis is free.
Legitimate DIY Tasks: What You Can Safely Do This Weekend
Now the good news. There are at least five maintenance and minor repair tasks that a reasonably capable Escondido homeowner can handle without special tools or meaningful risk. These are the ones we tell people to go ahead and do themselves, because paying for a service call to squirt grease on a hinge doesn’t make sense for anyone.
1. Weatherseal Replacement
The rubber strip at the bottom of your garage door is called the weatherseal or bottom seal, and it degrades faster in Escondido’s dry heat and UV exposure than in coastal climates. When it cracks, splits, or loses its compression, dust, leaves, and desert critters find their way in. Replacing it is a legitimate DIY job: pull the old seal out of the channel at the bottom of the door, cut the new seal to length with a utility knife, and slide it in. No tools beyond a utility knife, a flathead screwdriver to spread the channel, and maybe a silicone spray to help it slide. This takes 30 to 45 minutes and saves you roughly $75 to $125 compared to a service call.
2. Lubrication
Garage doors like lubrication. The rollers, hinges, and springs all benefit from a proper spray lubricant applied every 6 to 12 months, more often in the dusty inland conditions around Escondido. You’ll want a white lithium grease or a silicone-based garage door lubricant, not WD-40. Spray the hinge pivot points, the roller bearings, and the spring itself. This is a 15-minute job that reduces noise, smooths operation, and extends the life of moving parts. The one rule: don’t lubricate the track. The rollers don’t ride on a lubricated track, they ride on their own bearings, and oil in the track just collects dust and creates a grinding paste.
3. Photo-Eye Sensor Alignment
If your garage door starts closing and then reverses for no obvious reason, the photo-eye sensors at the bottom of the track on either side are probably out of alignment. This is a classic Escondido problem because garage floors shift slightly with temperature swings, and a bracket can rotate a fraction of a degree without you noticing. Check that both sensors have a solid light (not blinking), loosen the wing nut on the bracket, adjust until both lights are solid, and tighten. This takes 10 minutes and costs nothing.
4. Remote and Keypad Programming
If your opener remote stopped working after a power outage or a battery change, reprogramming it is a straightforward process. Every major brand, including Chamberlain and Genie, has a “learn” button on the motor unit. Press it, press the button on the remote, and you’re done. Keypad programming is slightly more involved but still outlined clearly in the manual for your opener model. If you’ve lost the manual, the brand publishes PDF versions online. This is a 5 to 10 minute fix that needs no tools.
5. Minor Panel Dent Repair
Small dents in steel or aluminum garage door panels, the kind caused by a bike handlebar or a misplaced ladder, can often be improved with a rubber mallet and a wooden block on the back side of the panel. This works best on flat panels without embossed designs. For deeper dents that stretch the metal, or for dents that crack the factory finish, you’re looking at a panel replacement rather than a repair. But for minor cosmetic dents, working the metal back from the inside with a block and light tapping is a legitimate home fix.
The common thread across all of these tasks: none of them involve opening the spring system, none of them require detensioning anything, and none of them put you in a position where a component failure causes injury. That’s the line. If the job is on the non-spring side of that line, go ahead. If it’s not, stop.
The Tool and Parts Reality Check
There’s a reason a professional garage door technician can complete a spring replacement in 45 to 60 minutes while a homeowner commits an entire afternoon, or a whole weekend, to the same job. It’s not raw speed. It’s tools, parts, and a repair process built around doing the job once.
What a Professional Carries
- Pairs of torsion spring winding bars in multiple diameters, each 18 inches long and rated for the specific force involved. These are not improvised rods. They’re heat-treated steel designed to fit the winding cone on a torsion spring without slipping.
- Cable pullers and tension jigs for holding and manipulating lift cables without releasing spring tension.
- Multiple spring sizes and wire gauges on the truck. The difference between a .225 wire spring and a .250 wire spring is significant in terms of door balance and opener load, and a technician can measure and replace the right spring on the spot.
- Bearing plates, center brackets, end brackets, and drums for the full range of residential doors installed in Escondido homes.
- A calibrated torsion spring scale or the trained eye to verify that a door is properly balanced after installation, which means it holds position at mid-height without the opener having to fight it.
- Safety equipment, including gloves, eye protection, and door support stands.
What a Homeowner Typically Has
- A socket set with sockets that are either too shallow or too deep for the cone bolts.
- Two lengths of steel rod from the hardware store that are not rated for winding-bar use and are likely to bend at the worst moment.
- The wrong spring, ordered online from a photo match, because the original spring’s wire gauge and coil count weren’t measured before ordering.
- No way to verify that the door is balanced after reassembly, which leads to an opener motor that burns out six months later from running against an unbalanced door.
Here’s the honest math: the tools required to safely change a torsion spring, including proper winding bars, cost roughly $80 to $150. Before you buy anything, check whether your project needs Garage Door Permits, Codes & Inspections in CA: What You Need to Know. The spring itself, if you can correctly identify and order it, runs $75 to $140 for a matched pair. Time spent researching, ordering, watching tutorials, and doing the job is realistically 4 to 6 hours for someone doing it for the first time. A professional spring replacement in Escondido runs $180 to $340 including parts, labor, and a balance check, and it takes under an hour. When you subtract what you’d spend on tools and parts, the professional labor is essentially $30 to $60. That’s not a premium for expertise. That’s the value of not spending your Saturday in a garage with a torque wrench and a prayer.
Cost Math That Actually Works: When DIY Saves, When It Backfires
Let’s talk numbers, because the DIY conversation usually skips the part where a “money-saving” repair turns into a second service call that costs more than the original service call would have.
Where DIY Saves Real Money
- Weatherseal replacement: $25 to $45 for the seal at a local hardware store or online, 30 minutes of your time. Professional cost: $75 to $125. Real savings: $50 to $80, and it’s genuinely safe.
- Sensor realignment: $0, zero parts, 10 minutes. Professional cost: a service call of $65 to $95. This is the single best DIY repair in terms of value.
- Lubrication: $8 to $15 for a can of proper lubricant, 15 minutes. Professional cost: included in a tune-up that runs $85 to $120. You’re not wrong to do this one yourself.
- Remote programming: $0, assuming you have the manual or can find a PDF online. Professional cost: often waived if the technician is already on-site for another repair, but $50 to $80 as a standalone visit.
Where DIY Costs More After a Correction
- Spring replacement attempted DIY: $80 to $150 in tools, $75 to $140 in springs that were either ordered wrong or installed incorrectly, one day of your time, and then $180 to $340 for a professional to fix the incorrect installation or finish the job. If the winding bar slipped and damaged the winding cone, add $30 to $50 for new cones.
- Cable replacement attempted DIY: the cable itself is only $20 to $40, but if the spring system is still loaded when you try to install it, you’re now looking at the cost of a full spring and cable replacement, not just the cable. That’s $200 to $380 professional repair versus the $40 you planned to spend.
- Opener gear replacement attempted DIY: the gear kit is $25 to $45, but opener internals are not designed for field disassembly by someone without the exploded diagram and the right snap-ring tools. A misaligned gear or a stripped limit-shaft spline turns a $100 professional gear job into a $400 to $700 opener replacement.
The Repairs Where Professional Labor Is Effectively Free
This is the part most DIY cost discussions miss. On a torsion spring replacement, the professional price of $180 to $340 includes a pair of correctly sized springs, which alone retail for $90 to $150, plus the service call, plus the labor, plus a balance verification. When you subtract the parts cost from the total, the labor is $30 to $60. The same pattern holds for cable replacements and bottom bracket jobs. These are repairs where the parts represent the majority of the cost, and the expertise is the thin margin that determines whether the repair lasts 10 years or 10 weeks.
One more thing worth stating plainly, because we hear it from Escondido homeowners regularly: we quote the price before we start. You agree to the number, then we do the work. There’s no “by the way, it’s actually double” conversation after the door is open. That’s how a professional garage door company operates, and it’s the model we follow at Ironside Garage Door Repair.
Partial DIY: What to Do Before the Technician Arrives
There’s a middle ground between full DIY and a blind service call, and it’s where a smart Escondido homeowner can genuinely reduce their billable time on straightforward jobs. These steps don’t require any tool skills. They require 10 minutes of observation and a smartphone.
1. Record the Problem on Video
Before calling, take a 15 to 30 second video of the door in operation. Film the door opening and closing, and film the specific component that seems wrong. If the door makes a grinding noise, hold the phone near the motor unit while it runs. If the door jerks or hesitates, film the full cycle. A technician who sees the video before arriving can often diagnose the problem remotely and bring the right parts on the first trip.
2. Note the Brand and Model
Look for the manufacturer’s name and model number on the opener motor unit and on the door itself if you can find a label. Clopay and Amarr doors usually have a label on the inside of a panel near the top. Genie and Chamberlain openers have a model plate on the motor housing. This lets the technician bring brand-specific parts, which matters more than homeowners realize. A spring for an Amarr door is not necessarily interchangeable with the spring on a Clopay door, even if the doors look the same size.
3. Clear the Work Area
Move vehicles out of the garage. Move bikes, ladders, tools, and anything else 6 feet back from the door tracks on both sides and 8 feet back from the door itself. A professional needs room to work, and clearing the space before they arrive means the clock starts when the repair starts, not when the setup happens.
4. Check the Simple Things First
If the door won’t open with the remote, try the wall button. If the wall button works, the problem is the remote, not the door. If the door reverses before closing, check the sensor lights. If one is blinking, try the alignment fix described earlier. If the door is noisy, check whether the noise is coming from the opener itself or from the tracks and hinges. These observations cost nothing and let you describe the problem precisely when you call.
5. Don’t Disassemble Anything
This is the hardest advice for a certain type of homeowner to follow. Once you’ve identified the problem and recorded it, stop. Don’t remove panels, don’t loosen bolts, don’t try to “free up” a stuck door with force. A partially disassembled system is harder to diagnose and more dangerous to work on. Let the technician see the problem as it actually exists.
If you combine these steps with a call to a dedicated garage door company, you’re getting the best of both worlds: your time investment is minimal, but the technician shows up with information that makes the visit faster. We see this at our Garage Door Opener Repair in Escondido team regularly: a homeowner who can tell us the brand, the symptom, and what the door does when the button is pressed gets a faster, cleaner resolution than someone who calls to say “it’s just broken.”
Escondido-Specific Factors That Change the Equation
Garage door advice that’s written for a national audience misses the specific conditions that Escondido homeowners face. Your garage door doesn’t operate in a generic climate. It operates in an inland valley where summers run hot, winters run cool, and the dust that blows through the canyons finds its way into everything.
Heat and Metal Fatigue
Torsion springs are rated for a certain number of cycles, typically 10,000 for standard springs and 25,000 to 50,000 for high-cycle springs. What the rating doesn’t tell you is that sustained heat accelerates metal fatigue, and a garage in Escondido can easily sit at 110 to 120 degrees on a July afternoon. That ambient heat transfers into the spring, and over years of thermal cycling, the spring weakens faster than it would in a coastal garage that runs 20 degrees cooler. We see springs failing at 8 to 12 years of age in Escondido where the same spring might last 12 to 15 years in Carlsbad. This matters in the DIY conversation because it shifts the calculus: a spring that fails early is a spring you want replaced with a high-cycle version, and selecting that spring correctly requires knowing the door’s exact weight and dimensions.
Dust and the Lubrication Cycle
Escondido’s dry air and canyon winds mean dust accumulates on door rollers, hinges, and springs faster than in many parts of San Diego County. That dust mixes with lubricant to form a paste that increases friction, which increases wear on the opener’s gear and the door’s moving parts. The DIY lubrication task described earlier is more important here than it would be in a coastal community, and the interval matters more: every 6 months, not every 9 to 12.
Wood Doors and Dry Air
Older Escondido homes, particularly in the historic downtown area and some of the rancho-era properties, have solid wood garage doors. Dry air causes wood to shrink and crack, and a wood door that loses its finish can absorb moisture during the winter rainy season and then dry out again in summer. A swollen or warped wood panel changes the door’s balance, which puts extra load on the springs and opener. This is a case where a DIY cosmetic fix, repainting or resealing a panel, is genuinely worthwhile, but it doesn’t address the underlying balance issue, which requires a professional inspection.
Homes on Sloped Lots
Escondido has significant topographical variety, from flat lots in the newer developments around Kit Carson Park to sloped lots in the hills around Lake Hodges and Hidden Meadows. Garage floors on sloped lots are more likely to settle unevenly over time, which shifts the door track out of plumb and leads to sensor misalignment and door binding. The photo-eye alignment fix described earlier is a common partial DIY response to this, but the underlying cause of a door that binds on one side is a track that needs professional realignment, not a sensor that needs a twist of the wrist.
Common Mistakes to Avoid
- Using an opener remote with a broken spring. When a torsion spring breaks, the opener motor is suddenly lifting the full weight of a 200 to 400 pound door by itself. Every cycle under that load wears down the opener gear faster, and eventually the gear strips. A broken spring costs $180 to $340 to replace. A broken spring plus a stripped opener gear is a $400 to $700 repair that could have been avoided by stopping after the spring failed.
- Ordering a spring online based on a photo. Torsion springs look nearly identical across wire gauges, and a spring that’s off by one gauge or 20 coils changes the door’s balance enough to shorten the new spring’s life significantly. The correct way to order a spring is to measure the wire diameter with a calibrated tool, count the coils precisely, and know the door’s exact weight. That’s not something a photo match can do.
- Adjusting the spring tension by hand. When a door installs with too much or too little lift, the temptation is to add or remove a quarter turn on the spring. This is a winding-bar job, not a hand job, and doing it with anything other than proper winding bars is the single most common way homeowners get hurt on garage doors. The hospital bill alone exceeds the cost of a professional adjustment.
- Ignoring the first sign of cable fraying. Garage door cables don’t break without warning. They fray first, usually near the bottom bracket where the cable attaches to the door. A frayed cable can be replaced for $80 to $150 before it breaks. A snapped cable can destroy the bottom bracket, bend the track, and leave the door wedged at an angle that’s dangerous to move. The earlier you catch it, the cheaper the repair.
- Spraying lubricant into the track. The track is not a lubrication point. Oil in the track collects Escondido dust and creates a grinding medium that accelerates roller wear. The only things that need lubricating are the roller bearings, hinge pins, and springs, and they need a dry-lubricant or silicone-based product, not a penetrating oil.
- Stacking heavy tools against the wall near the door track. This is a subtle one, but we see it often in Escondido garages where space is tight. A ladder or a stacked pile of tool boxes near the track can shift and press against the track or the cables, bending the track or cutting a cable. Keep the area around both sides of the door clear.
When to Call a Professional
Call a professional any time the problem involves a spring, a cable, a track, or a door that’s off balance. These are not judgment calls. They’re mechanical categories where the risk of injury and the risk of causing more damage both spike dramatically for anyone without specific training and equipment.
You should also call when the door operates but doesn’t sound right. A grinding, popping, or straining sound is an early warning that’s cheaper to fix now than after the failure. Finally, call when you’ve tried the legitimate DIY fixes and the problem persists. A door that still reverses after you’ve aligned the sensors, or an opener that still hums after you’ve replaced the remote battery, is telling you something that requires a trained diagnosis.
Ironside Garage Door Repair offers free estimates in Escondido, and we’ll tell you straight whether the repair is something you could handle yourself. That’s how we work: straight diagnosis, no pressure. Call (855) 341-7752 if you’re not sure which side of the line your problem falls on.
Frequently Asked Questions
Garage door spring repair in Escondido typically costs $180 to $340 for a matched pair of torsion springs, including parts, labor, and a balance check on the door. The exact price depends on the spring wire gauge, the door’s weight, and whether you’re upgrading to high-cycle springs. This is one of the repairs where professional labor is effectively free, since the springs themselves compose most of the price. Call (855) 341-7752 for an exact quote, estimates are free.
Yes, you can replace your own garage door weatherseal, and it’s one of the safest and most cost-effective DIY garage door tasks. A new bottom seal runs $25 to $45 at local Escondido hardware stores, takes under an hour to install, and requires nothing more than a utility knife and a screwdriver. The slide-out channel design on most Clopay and Amarr doors makes this a beginner-level job.
Lubricating your own garage door is safe and recommended as long as you use the right product, a silicone-based garage door lubricant or white lithium grease, and apply it only to the hinge pivot points, roller bearings, and torsion spring. Do not lubricate the door track, since oil there collects dust and creates abrasive wear. In Escondido’s dry climate, every 6 months is the right interval.
Warning signs of an impending spring failure include a visible gap of 1 to 2 inches in the spring coils, rust on the spring surface, and a door that feels noticeably heavier when you lift it manually. Torsion springs also make a creaking or popping sound as they lose tension. If you see any of these signs in an Escondido home, get a professional diagnosis before the spring snaps under tension.
Yes, a garage door opener’s gear will strip if you continue using the opener after a torsion spring breaks. The spring is there to counterbalance the door’s weight, and without it, the opener motor is attempting to lift 200 to 400 pounds unassisted on every cycle. A broken spring should stop all opener use until the spring is replaced. The cost of fixing both is $400 to $700 versus $180 to $340 for the spring alone.
We’re factory-familiar with eight major garage door and opener brands including Chamberlain, Genie, LiftMaster, and Raynor, and we diagnose by brand-specific knowledge rather than guesswork. When a technician arrives at your Garage Door Installation in Escondido home, whether you’re in downtown or up near Hidden Meadows, they know the specific failure patterns of your opener’s design and bring the right parts on the first trip. Call (855) 341-7752 to schedule a free estimate.
The Bottom Line
The DIY-vs-professional garage door decision comes down to stored mechanical energy. If the job doesn’t involve springs, cables under load, or a door that can fall on you, you can probably do it yourself with basic tools and a little patience. Weatherseal, lubrication, sensor alignment, and remote programming are legitimate homeowner tasks that save real money. Everything else belongs in the hands of a professional, not because you lack skill, but because the margin for error on a loaded torsion spring is measured in fractions of a second and permanent injury. The smart play is to know the line, do the safe work yourself, and call a dedicated garage door company for the rest. For more guides & resources on keeping your door running smoothly, visit our blog. Ironside Garage Door Repair offers free estimates in Escondido if you’re not sure which side of the line you’re on. Call (855) 341-7752 and we’ll give you a straight answer either way.
Written by the team at Ironside Garage Door Repair, serving Escondido since 2016.
See the difference
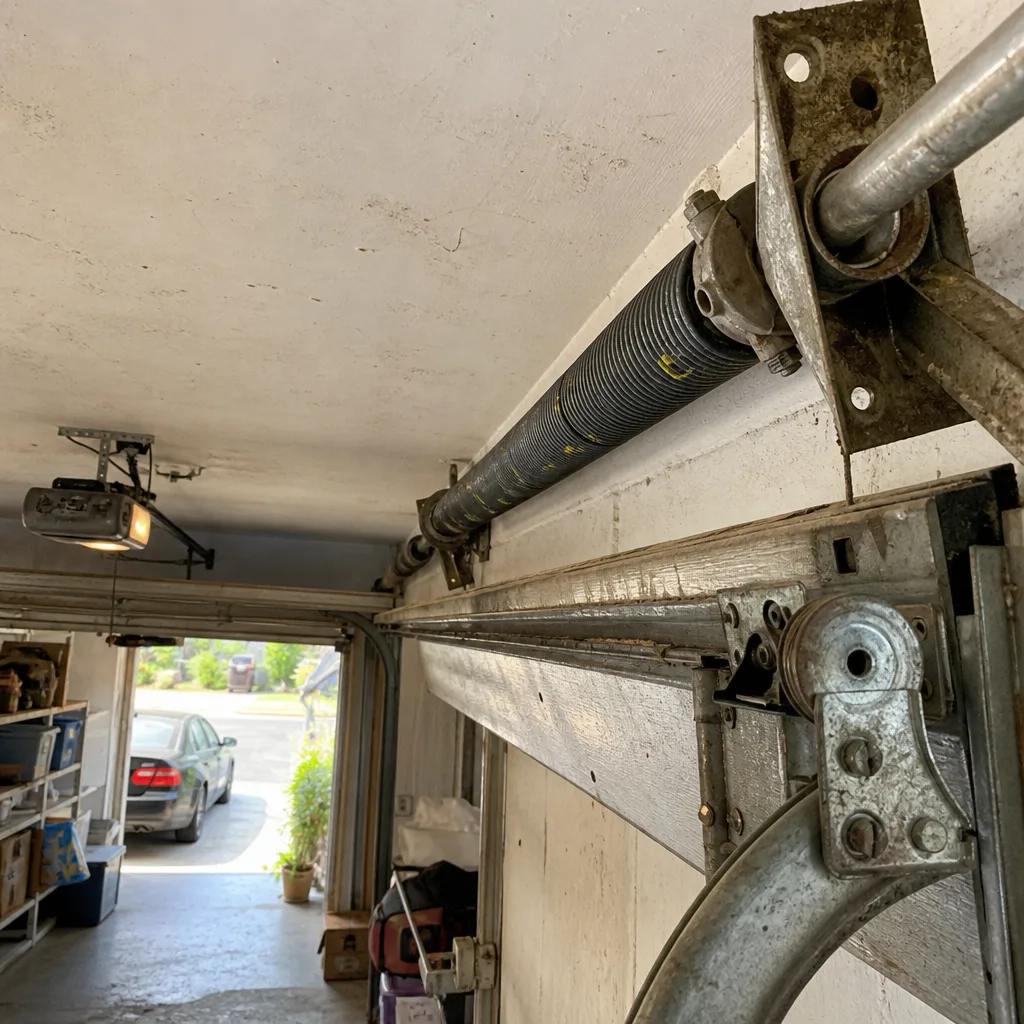
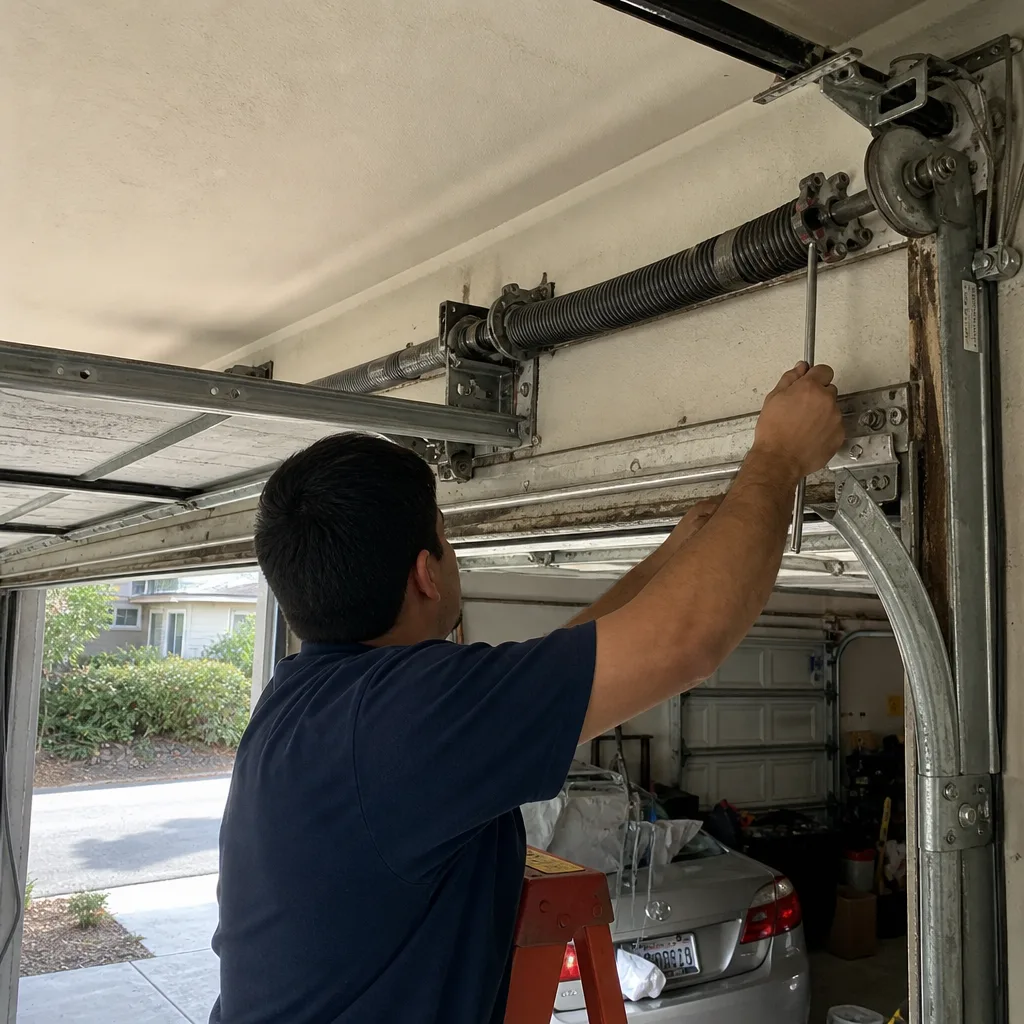
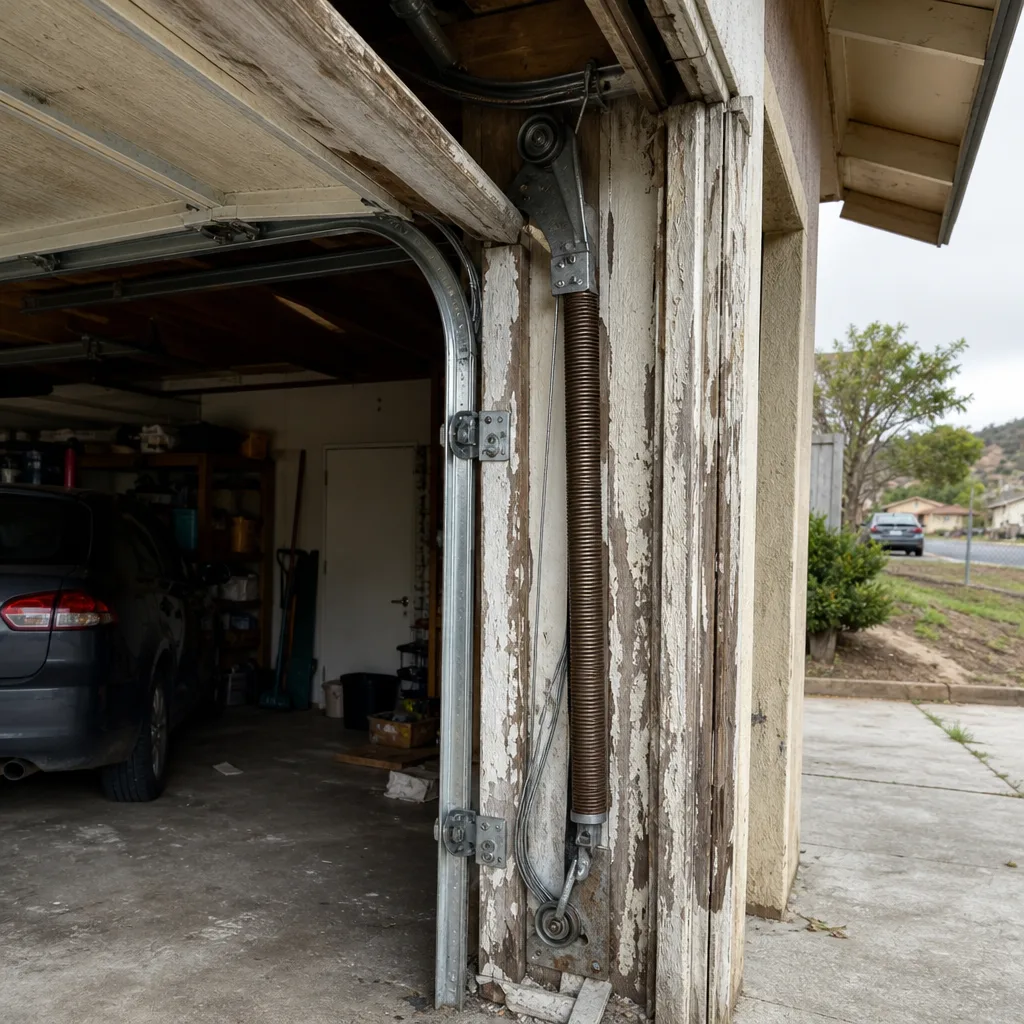 Before
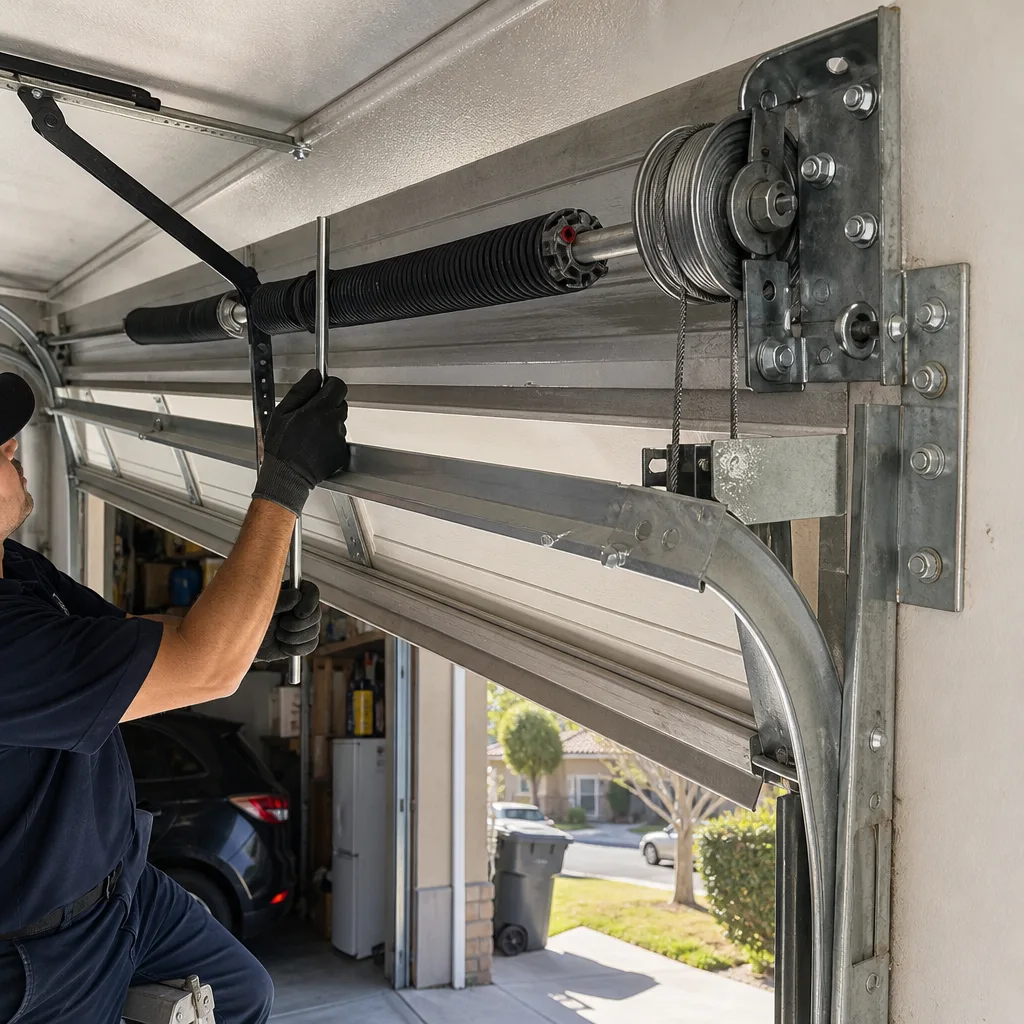
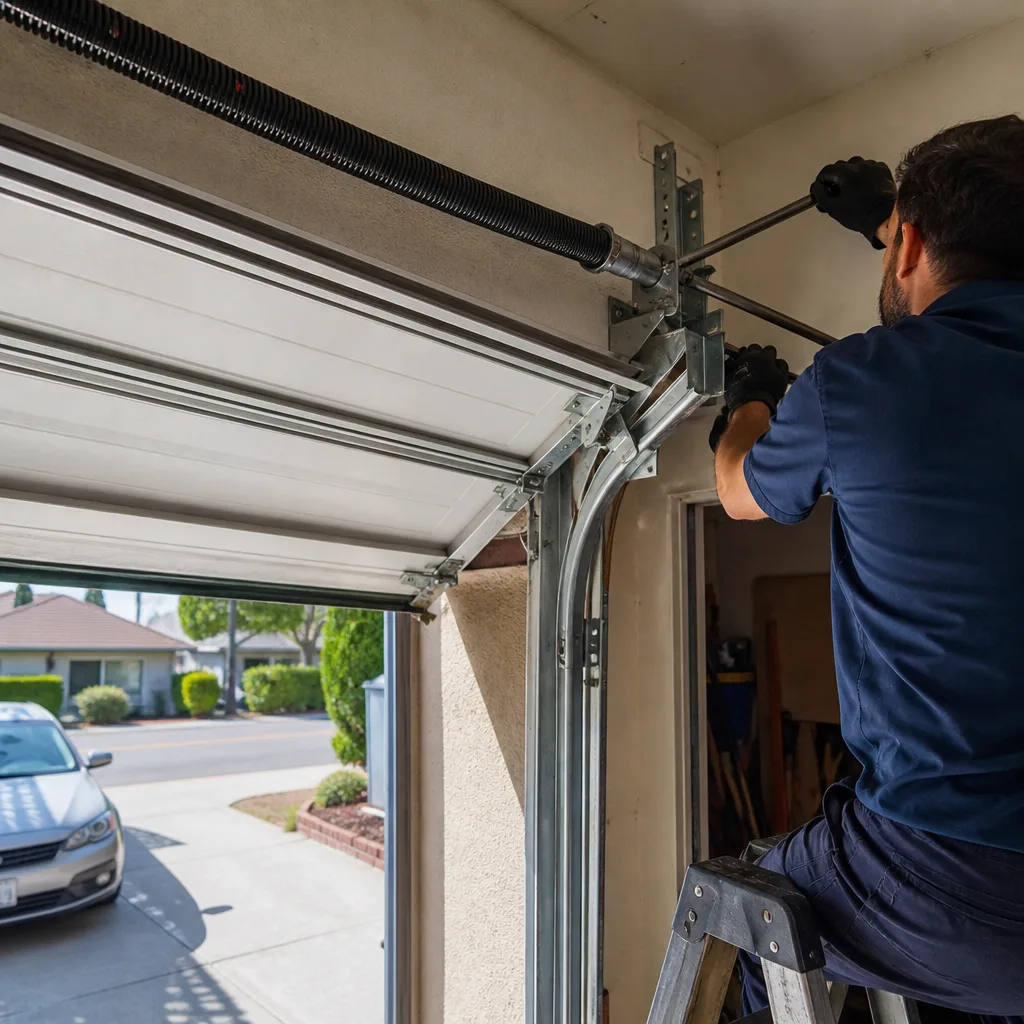
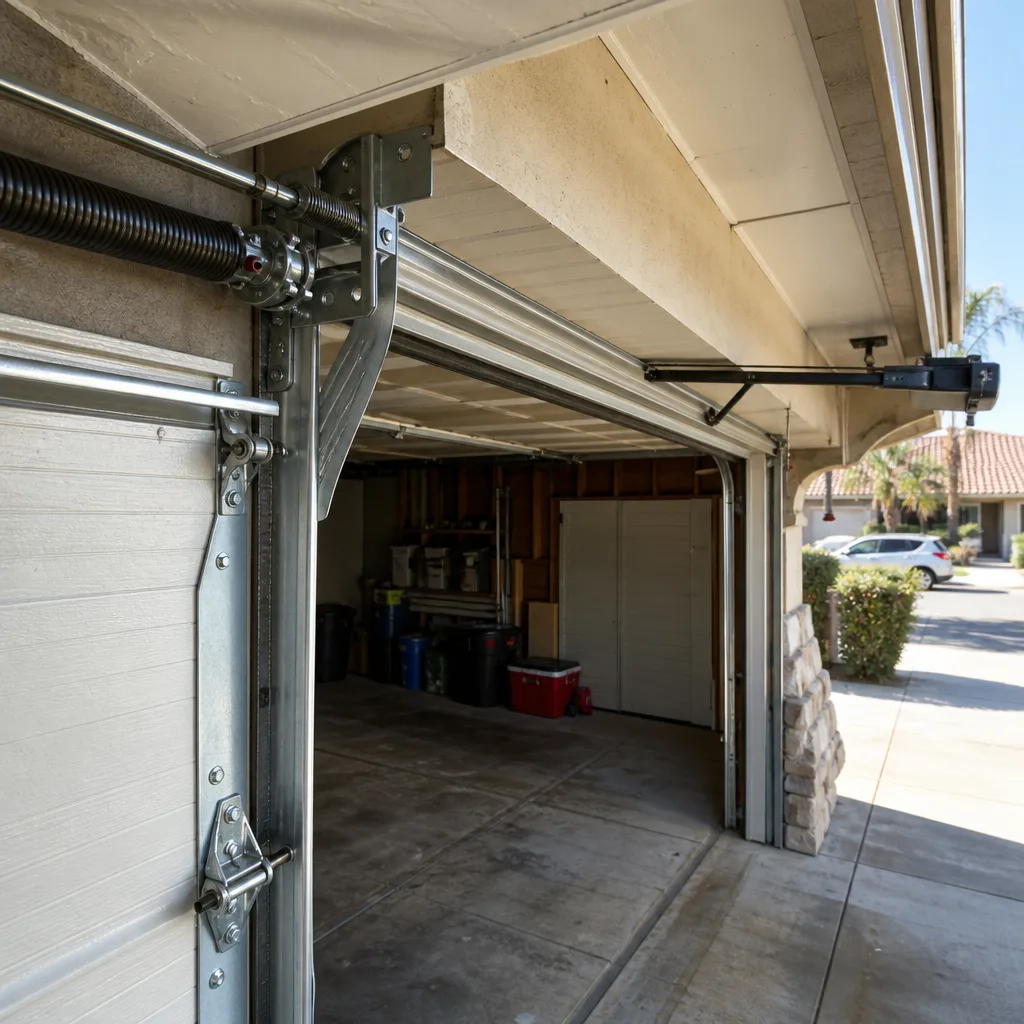 After
 Before
 After
 Before
 After